Mt. Kabunian is a 5/9 Major Climb located in Bakun, Benguet, standing at 1,789–1,840 MASL and famous for the “Stairway to Heaven” — hundreds of near-vertical concrete steps bolted into a sheer cliffside. The 10 km out-and-back trail takes 6 to 9 hours total and delivers one of the most dramatic ridge walks in the Cordillera region. Advance booking with the Bakun Municipal Tourism Council is mandatory; walk-ins are no longer accepted.
Mt. Kabunian Quick Guide
| Detail | Information |
|---|---|
| Mountain | Mt. Kabunian |
| Location | Barangay Poblacion, Bakun, Benguet |
| Province | Benguet, Cordillera Administrative Region |
| Elevation | 1,789–1,840 MASL |
| Difficulty | 5/9 (Major Climb) |
| Jump-off | Bakun National High School, Poblacion, Bakun |
| Best Season | November to May (dry season) |
| Trek Time | 4–5 hrs to summit; 6–9 hrs total |
| Registration | Bakun Municipal Tourism Council (advance booking required) |
| Campsite / Lodging | Old Municipal Hall (Old Munisipyo), Poblacion |
Table of Contents
Where Is Mt. Kabunian Located?
Mt. Kabunian is a popular hiking destination in the municipality of Bakun in the province of Benguet, and it is one of the three mountains that make up the famous Bakun Trio. The other two mountains are Mt. Tenglawan in Barangay Poblacion and Mt. Patullok, which is the highest peak of the trio.
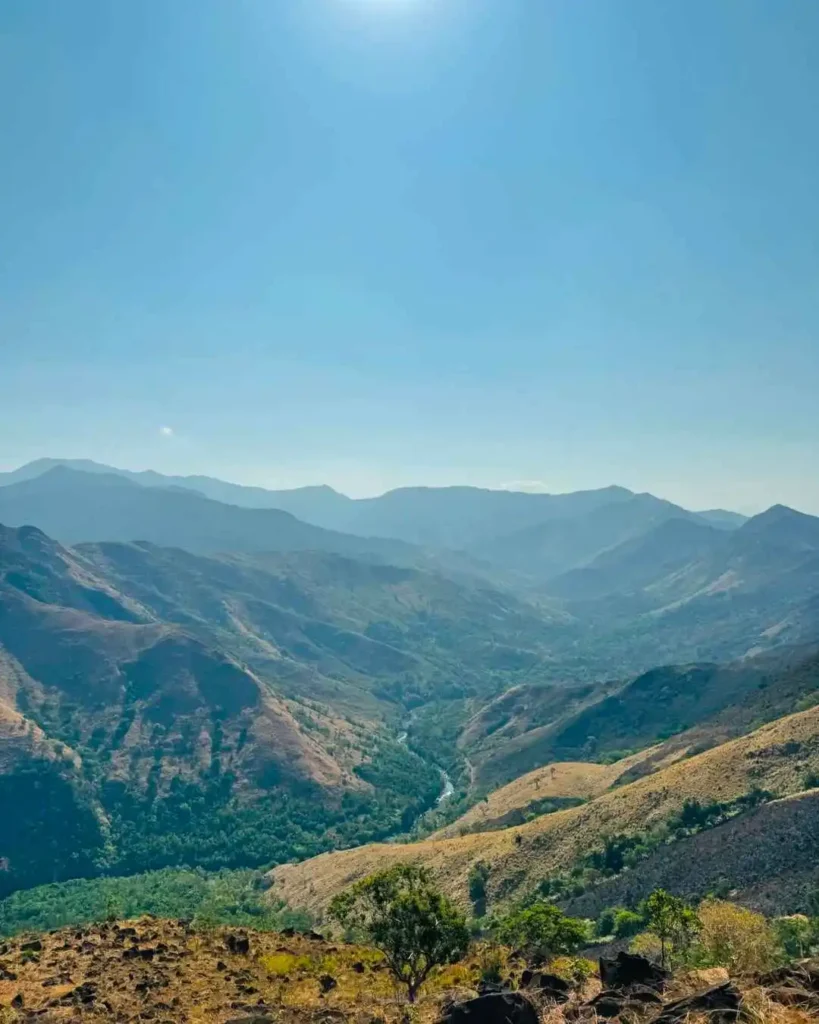
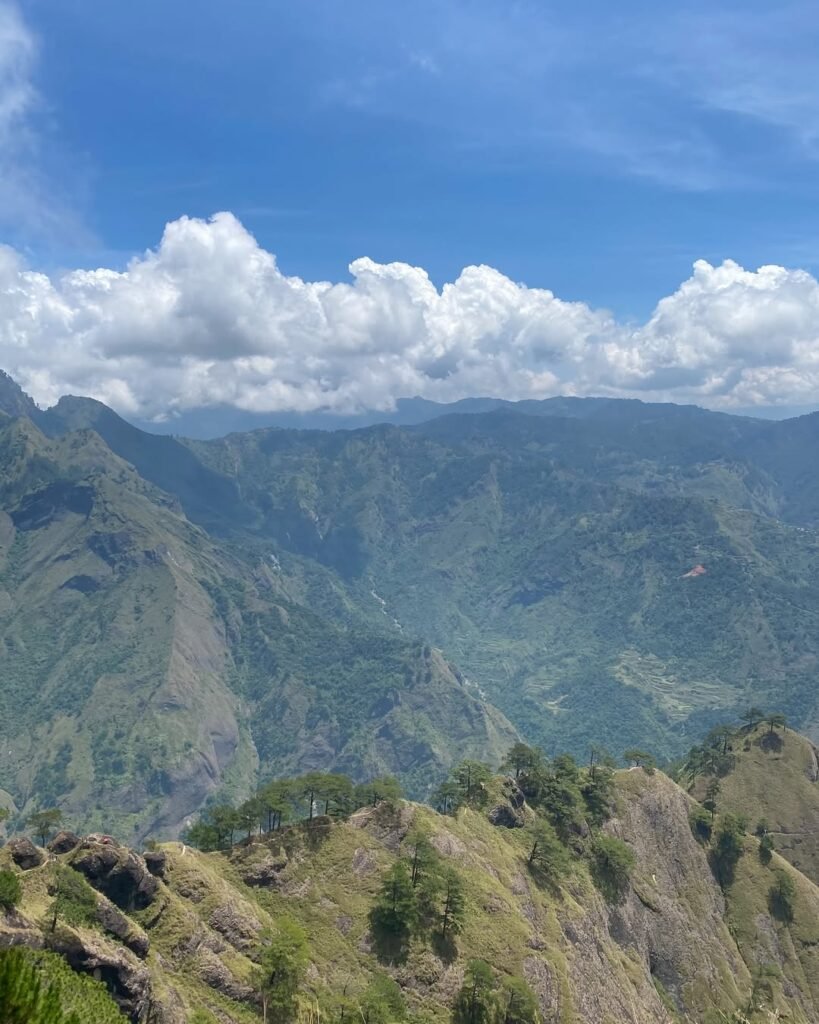
Sitting on a plateau in the middle of the Cordilleras, the small town of Bakun is a perfect setting for a multi-day mountain adventure. Barangay Poblacion sits on a plateau surrounded by colossal mountain crags, dotted with rice terraces and pine forests, with waterfalls visible from down below. Arriving there for the first time, the sheer scale of the landscape hits you immediately — this isn’t a mountain you casually stumble upon.
Mt. Kabunian is a sacred mountain in Bakun, often called the “Home of the Sky God Kabunian.” According to local history, Mt. Kabunian is named after the highest deity of the Kankanaey myth — Apo Kabunian — born of the skyworld, held to be the father of lesser gods and mankind, with locals praying to him to bless their harvest. Standing at the summit, you feel the weight of that belief. This is not just a mountain — it is a living sacred space.
During the wet season, the precipitous cliffs channel rainwater into ephemeral waterfalls that cascade hundreds of meters down the sheer rock, earning it the moniker “The Crying Mountain.” During the dry season, those same cliffs glow amber in the early morning light — a completely different spectacle.

How to Get to the Mt. Kabunian Jump-off Point
The trek begins at Poblacion, Bakun, where hikers register at the local tourism office. This trail usually starts near the Kabunian Jump-off along the Acop-Kapangan-Kibungan-Bakun Road, close to Bakun National High School. Getting there is half the adventure.
From Manila:
Ride a bus from Metro Manila to Baguio City — Victory Liner in Cubao or Pasay is the standard choice, with a travel time of 5 to 7 hours depending on traffic. From Baguio, the journey continues north.
From Baguio City to Bakun:
The bus for Bakun is parked at a specific Petron Gas Station at KM 5, La Trinidad, Benguet. From the Victory Liner terminal, hail a taxi to “Petron KM 5” (fare ~PHP 100–150). Budget travelers can take a jeepney marked “La Trinidad” from Baguio Center Mall for ~PHP 15–20.
There is usually only one trip per day. It departs between 6:00 AM and 7:00 AM, but it often waits until it is fully loaded with cargo — sacks of rice, vegetables, and live chickens. Arrive at the terminal by 5:30 AM at the absolute latest to secure a seat.
If you miss this 7:00 AM window, you are effectively stranded for 24 hours unless you charter a private vehicle at a premium price. This is the single biggest logistical risk of a DIY trip to Kabunian. Groups of 10 or more should seriously consider renting a private jeepney from Baguio; the fixed Monster Jeep rental costs approximately PHP 12,000 and must be divided among enough passengers to keep the per-head cost manageable.
Prepare for a grueling 6 to 7-hour bus ride. The bus traverses the Halsema Highway — the highest highway in the Philippines — before turning left at the Sinipsip Junction around KM 60, where the road then dives deep into the mountains toward Bakun.
Return Trip:
A bus departs from Poblacion every morning between 6:00 and 7:00 AM — it is the only trip of the day, so catch it early. Plan your descent accordingly and never schedule a tight connection in Baguio the same afternoon.
Permits, Fees, and Guide Requirements at Mt. Kabunian
A local guide is mandatory, advance booking is required, and walk-ins will be turned away — these are the three non-negotiable rules governing Mt. Kabunian in 2026.
Advance Booking:
You must contact the Bakun Municipal Tourism Council at least 2 weeks before your trip. For 2026, a Medical Certificate is highly recommended — and often mandatory — for all Major Climbs in Benguet. The walk-in culture is dead in Bakun. Message the official “Bakun Municipal Tourism Council” Facebook page to lock in your dates, guide assignment, and sleeping slot.
The municipality operates on a strict carrying capacity based on the number of available local guides. If you arrive at Sitio Poblacion without a confirmed slot and all guides are deployed to other mountains, you will not be allowed to hike.
Guide Rules:
You cannot hike Mt. Kabunian without a local guide. The ratio is strictly 1 guide for every 6 hikers. The guide fee is PHP 1,000, which is good for a group of up to six people.
Registration Fee:
The registration fee at Mt. Kabunian is PHP 240 per head. This covers both the environmental and trail fees for the Kabunian trail specifically. The fees for the Bag-iw River side trip, if you add it, are separate.
Overtime Fee:
If you finish the hike past 6:00 PM, guides may charge an overtime fee of PHP 100 per hour. Start early and pace accordingly to avoid this.
Lodging:
The primary accommodation for hikers is the Old Municipal Hall — locally called the “Old Munisipyo” — in Sitio Poblacion. It offers rustic, communal sleeping quarters for PHP 250–300 per night.
Critical Reminder:
There are no functional ATMs in Poblacion, Bakun. The last reliable ATM is in La Trinidad at KM 5 or KM 6. Do not rely on GCash or Maya as signal is too intermittent for transactions. Bring hard cash in smaller denominations — PHP 50s and 100s — to pay for all local fees and supplies.
What Is the Mt. Kabunian Trail Like?
The Mt. Kabunian trail is a 10 km out-and-back route rated 5/9 (Major Climb). While the summit sits at a moderate 1,840 MASL, the trail is strenuous due to its “Reverse Hike” profile — you descend steeply from the jump-off first, meaning you must climb back up to the trailhead when you are most exhausted. This reversal is what earns the mountain its reputation. You spend the morning going down — and the afternoon hauling yourself back up.
Jump-off to the River (Descent, ~45 min)
From Bakun National High School, the trail immediately starts on a descending path that cuts through the community. Not even a few minutes in, you find yourself wondering how on earth you will ascend this on the way back. The trail passes through forested areas and then down to farmlands.
The descent to the river valley is deceptively gentle in the morning — cool air, shaded forest, the sound of water ahead. Two hanging bridges cross the river in quick succession. Expect to traverse hanging bridges over raging rivers and see cascading waterfalls splashing down the verdant landscape. These bridges are sturdy, but single-file crossing is the unspoken rule.
River Crossing to the Resting Shed (Gradual Ascent, ~1 hr)
Past the bridges, the path bifurcates near a pine tree-laden area — one fork goes toward the Lon-oy Hydroelectric Plant and Pattan Falls, the other leads to Mt. Kabunian. Your guide makes this decision easy. The trail then begins climbing steadily through pine forest and open farmland.
A cemented waiting shed marks a natural rest stop where you can catch your breath. A water source is available at this point — the last reliable one before the final push. Fill every container here. The ascent ahead has no shade.
The Cliffside Traverse and Stairway to Heaven (Steep, ~1–1.5 hrs)
This is what you came for. Almost two hours into the climb, the trail crests a hill and opens onto an exposed path along the cliffside, protected by carefully placed metal railings along ravines that snake through the mountainside.
The dirt trail disappears, replaced by the famous “Stairway to Heaven” — hundreds of concrete steps anchored into the cliffside with galvanized iron railings. The gradient is severe. You are essentially climbing a vertical wall.
Because the stairs are made of concrete and rock, they absorb and radiate heat. By 10:00 AM, the temperature here can feel 5–10 degrees hotter than the ambient air. This is why starting before dawn is critical — not just for the views, but for survival. Jump shots on the Stairway to Heaven are not recommended and are prohibited; keep jump shots for the summit marker.
Contrary to expectations, climbing the stairway is relatively manageable despite its technicality — however, descending it is significantly more difficult. On the way up, your hands grip the railing and your legs drive you forward. On the way down, every step demands full concentration on slick, sun-heated concrete.
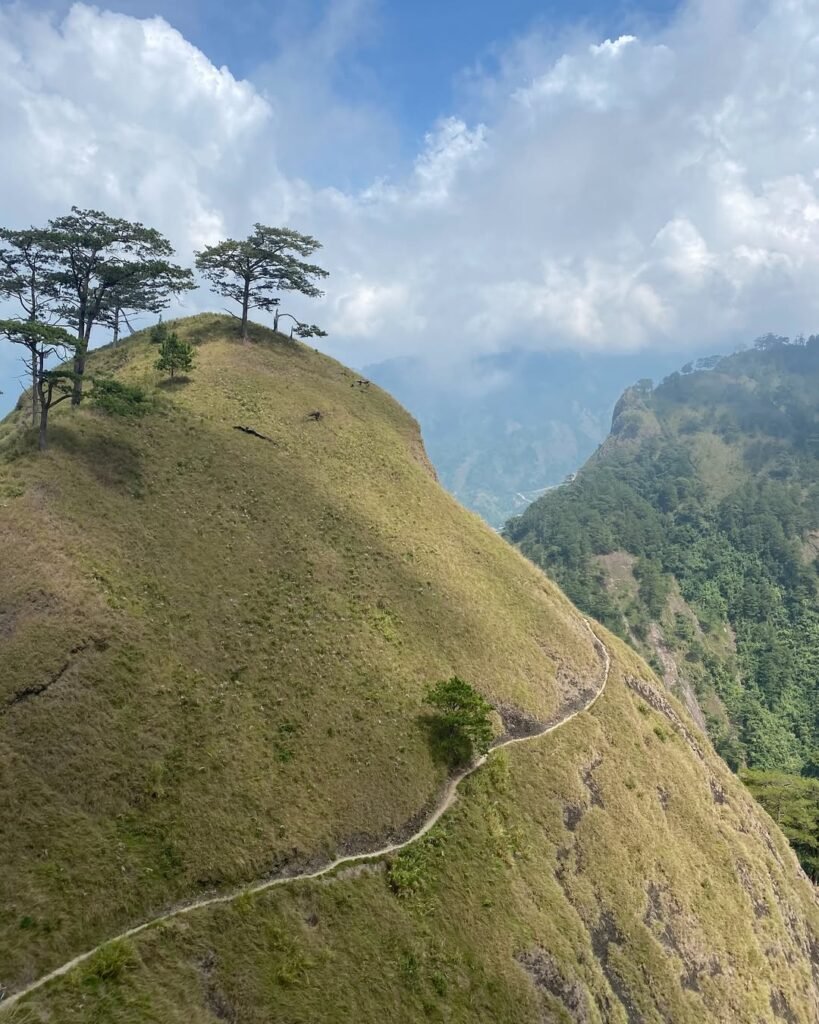
Ridge Walk to Summit (Grassy Ascent, ~45 min)
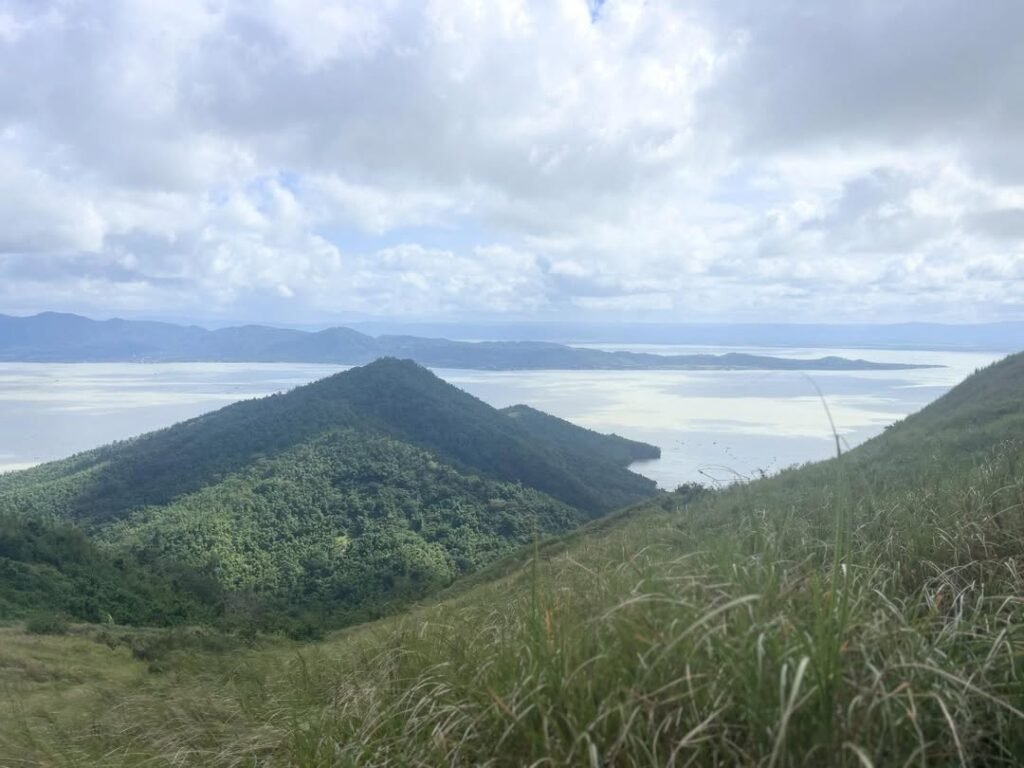
As you breach the ridge, the vegetation shifts to high-altitude grass and stunted pine trees. The summit plateau, sitting at 1,840 MASL, offers a commanding 360-degree view that stretches all the way to the West Philippine Sea in the Ilocos region.
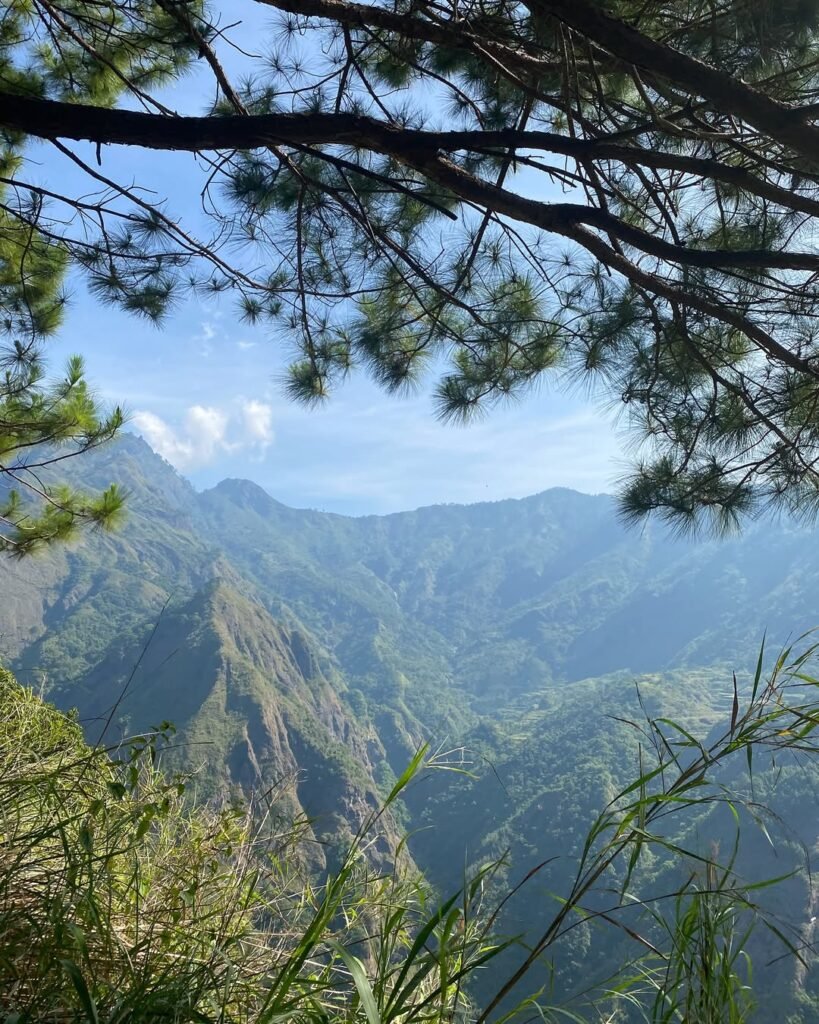
The summit offers views of neighboring mountains, valleys, and rice terraces. On a clear morning, you can track the entire silhouette of Mt. Tenglawan to your right and the spire of Mt. Gedgedayan rising from the valley below. The summit marker is where your group photo belongs.
On the descent, the guide points out the ancient burial site of Kankanaey tucked just below the massive rocky mountainside. If you look closely at the cliff sides through binoculars, you can still see ancient wooden coffins and burial jars tucked into the crevices — a silent reminder that on Kabunian, we are merely guests. Speak quietly here. Locals take this seriously.
Suggested Itinerary
- Day 0 (Night): Depart Manila or Baguio; overnight travel
- ~6:30 AM: Arrive Poblacion, Bakun; breakfast and registration
- ~7:15 AM: Start hike from Bakun National High School jump-off
- ~11:30 AM–12:00 PM: Reach summit (4–5 hrs ascent)
- 12:00–1:00 PM: Summit rest, photos, food
- ~4:00–5:00 PM: Return to jump-off (3–4 hrs descent)
- Evening: Rest at Old Munisipyo; prepare for next day or return trip
Is Mt. Kabunian Good for Beginners?
Mt. Kabunian is a major climb with a difficulty of 5/9 and lots of steep ascents; it is not recommended for beginners with a fear of heights or someone who hasn’t experienced climbing a mountain before. That said, “not for absolute beginners” is different from “only for experts.” If you have two or three moderate hikes under your belt — think Mt. Ulap or Mt. Kotkot — Kabunian is a very achievable next step.
With a total trail distance of 10 kilometers out-and-back and an elevation gain of 1,030+ MASL, Mt. Kabunian has a moderate difficulty suited for those wanting their first major climbs in the Philippines. Those who have hiked it give it a 5/9 difficulty rating, with the main challenge being the combined steepness and exposure to heat.
The physical demand is real but manageable with preparation. Train your legs on inclines for at least two to three weeks before the climb, bring trekking poles, and start your summit push before 7:00 AM to stay ahead of the midday heat on the Stairway to Heaven. For more context on how this difficulty stacks up, see the guide to Major Climbs in the Philippines Difficulty 5–8.

Best Time to Climb Mt. Kabunian
The best time to hike Mt. Kabunian is during the dry season from November to May, though the wet season reveals its famous ephemeral waterfalls on the cliff faces.
The sweet spot is February to April: skies are clear, the Ilocos coastline is visible from the summit, and the Stairway to Heaven is dry underfoot. The best chance for clouds and mist is at sunrise, between 5:30 AM and 6:30 AM. Peak-season long weekends — especially those near Araw ng Kagitingan, Holy Week, and Labor Day — fill up guides fast. Contact the Bakun Municipal Tourism Council at least 2 weeks ahead during these periods.
During the wet season from June to October, the precipitous cliffs channel rainwater into ephemeral waterfalls that cascade hundreds of meters down the sheer rock. Wet-season hiking is possible but significantly more dangerous on the cliffside traverse — the concrete steps become extremely slippery. In minutes, a trail can turn into a slick, muddy slide, and the rocks carefully climbed hours earlier become hidden beneath sheets of rain, with every step becoming a negotiation between balance and gravity.
Budget Breakdown for Climbing Mt. Kabunian
A safe budget for a DIY hiker joining a group of 10–15 is PHP 3,500–4,000. If booking an all-inclusive organized tour, market rates range from PHP 2,900 to PHP 3,500 (Manila to Manila).
| Expense | Cost (PHP) |
|---|---|
| Bus fare: Manila → Baguio (one-way) | PHP 350–600 |
| Taxi/jeepney: Baguio → La Trinidad KM 5 | PHP 15–150 |
| Bus fare: La Trinidad → Bakun (one-way) | PHP 185–200 |
| Registration / Environmental / Trail Fee | PHP 240/head |
| Guide Fee (shared, 1:6 ratio) | PHP 167–200/head |
| Lodging: Old Munisipyo (per night) | PHP 250–300 |
| Meals (3 meals + snacks, DIY) | PHP 300–500 |
| Contingency / miscellaneous | PHP 300–500 |
| Estimated Total (DIY) | PHP 1,800–2,600/head |
Note: Transport costs drop significantly when sharing a private jeepney (≈PHP 12,000 for the whole vehicle). All-in organized tours (PHP 2,900–3,500) include transport, guide, and registration.
What to Pack for Mt. Kabunian
Unlike the cold peaks of Benguet, Mt. Kabunian requires a Heat Management Strategy. Mandatory items include a silver-coated hiking umbrella (payong), arm sleeves, and at least 3 liters of water — water sources along the trail are unreliable. Trekking poles are non-negotiable for the steep ascent back to Poblacion.
| Item | Essential? |
|---|---|
| Trekking poles | Yes — critical for the reverse climb |
| Silver-coated hiking umbrella (payong) | Yes — reduces heat by 5–10°C on the stairway |
| At least 3 liters of water | Yes — refill at rest shed; sources are unreliable |
| Arm sleeves / sun protection | Yes — trail is largely exposed |
| Lightweight long pants | Yes — for sun protection and grip on rock sections |
| Aggressive-tread trail shoes | Yes — concrete steps + loose rock |
| Trail food / energy snacks | Yes — no stores on trail |
| Headlamp with fresh batteries | Yes — pre-dawn start is standard |
| Rain jacket / poncho | Yes — afternoon weather is unpredictable |
| Medical certificate | Strongly recommended (often required in 2026) |
| Hard cash in small bills | Yes — no ATM in Poblacion |
| Thick fleece jacket | No — heat, not cold, is the challenge |

Safety Tips for Climbing Mt. Kabunian
Start before 7:00 AM. Starting at 4:45 AM is ideal, as it allows you to minimize the time hiking under the heat of the sun. The Stairway to Heaven becomes a radiant oven by mid-morning.
Never skip the guide. You cannot hike Mt. Kabunian without a local guide. Beyond logistics, guides know the trail junctions, the water sources, and the sacred protocols around the burial sites.
Hold the railing on the Stairway. Always hold on to the railings; falling off the cliff on this exposed section is a genuine hazard.
Respect the burial grounds. Mt. Kabunian’s rocky mountainside contains burial grounds and century-old wooden box coffins placed by the Igorot people. Do not touch, disturb, or photograph burial artifacts up close. Always practice Leave No Trace principles, respect local tradition, refrain from indecent attire, and note that campfires are not allowed.
Check the weather. Thick fog can cover the mountains of Bakun with little warning, and when the skies open, the trail turns into a slick, muddy slide within minutes. Check PAGASA forecasts the night before and reconsider if there is any typhoon signal in Cordillera.
Bring cash only. Do not rely on GCash or Maya — signal in Bakun is too intermittent for transactions.
Frequently Asked Questions About Mt. Kabunian
1. What is the Mt. Kabunian MASL (elevation)?
Mt. Kabunian has an elevation of 1,789 MASL, located in Brgy. Poblacion, Bakun, Benguet, and is generally considered a 5/9 difficulty major climb. Some sources cite 1,840 MASL as the true summit measurement; the commonly used figure in registration materials is 1,789 MASL.
2. Do I need a DENR permit for Mt. Kabunian?
Mt. Kabunian is managed by the Bakun Local Government Unit (LGU), not DENR directly. Advance booking is mandatory to secure a local guide and sleeping slot at the Old Municipal Hall — walk-ins are frequently turned away. You must contact the Bakun Municipal Tourism Council at least 2 weeks before your trip. The registration fee paid at the tourism office covers the environmental and trail fees.
3. How many kilometers is the Mt. Kabunian trail?
The total trail distance is 10 kilometers out-and-back, with an elevation gain of over 1,030 MASL. The trail is strenuous due to its “Reverse Hike” profile — you descend steeply from the jump-off first, meaning you must climb back up when you are most exhausted — with 6 to 9 hours of total trekking time on exposed, rocky terrain.
4. Is Mt. Kabunian part of the Bakun Trio, and should I do all three mountains?
Mt. Kabunian is one of the three mountains that make up the Bakun Trio in Bakun, Benguet. The Bakun Trio is a three-in-one package with each mountain offering different experiences and varying degrees of difficulty, with beauty and trail excitement constant across all three. Kabunian is widely considered the most scenic. The standard format is 3 days, 1 mountain per day, with Poblacion serving as your base. Check the mountains in the Philippines travel guide for planning the full trio.
5. What makes the Mt. Kabunian “Stairway to Heaven” famous?
The Stairway to Heaven — locally called Takdag Camsit — is a steep staircase supported by ropes and railings carved into the mountain’s crag, and it is actually a pre-Hispanic route used by ancestors as a trading path from the Cordilleras to the Ilocos Region via the village of Kayapa down to Tagudin, Ilocos Sur. What hikers climb as a recreational challenge was once a commercial highway connecting highland and lowland communities. That context makes the stairway feel less like an obstacle and more like a piece of living history.
Final Verdict: Should You Climb Mt. Kabunian?
Mt. Kabunian earns a 4.5 out of 5 for experienced beginner and intermediate hikers who are physically prepared and culturally respectful. Remember that Mt. Kabunian is a sacred sanctuary first and a hiking destination second — completing this Major Climb requires not just the physical endurance to conquer the Stairway to Heaven, but the discipline to follow strict Leave No Trace principles and respect the silence of the burial grounds.
If you want a mountain that tests your legs, drops your jaw, and changes how you think about Philippine hiking, book your slot with the Bakun Municipal Tourism Council and get on that 6:00 AM bus.