


What to Pack for Mt. Kimat Patil-Ao
| Item | Essential? |
|---|---|
| Waterproof trail shoes or hiking boots |  Yes Yes |
| At least 2–3 liters of water | Yes |
| Sunscreen (SPF 50+) | Yes |
| Wide-brim hat or sun cap | Yes |
| Trekking poles | Recommended |
| Wind/light rain jacket | Yes |
| Packed lunch + trail snacks | Yes |
| Headlamp with extra batteries | Yes |
| First aid kit | Yes |
| Offline maps (downloaded before trip) | Yes |
| Trekking pants or quick-dry shorts | Yes |
| Extra dry shirt | Recommended |
| Power bank | Recommended |
| Trash bag (pack-in, pack-out) | Yes |
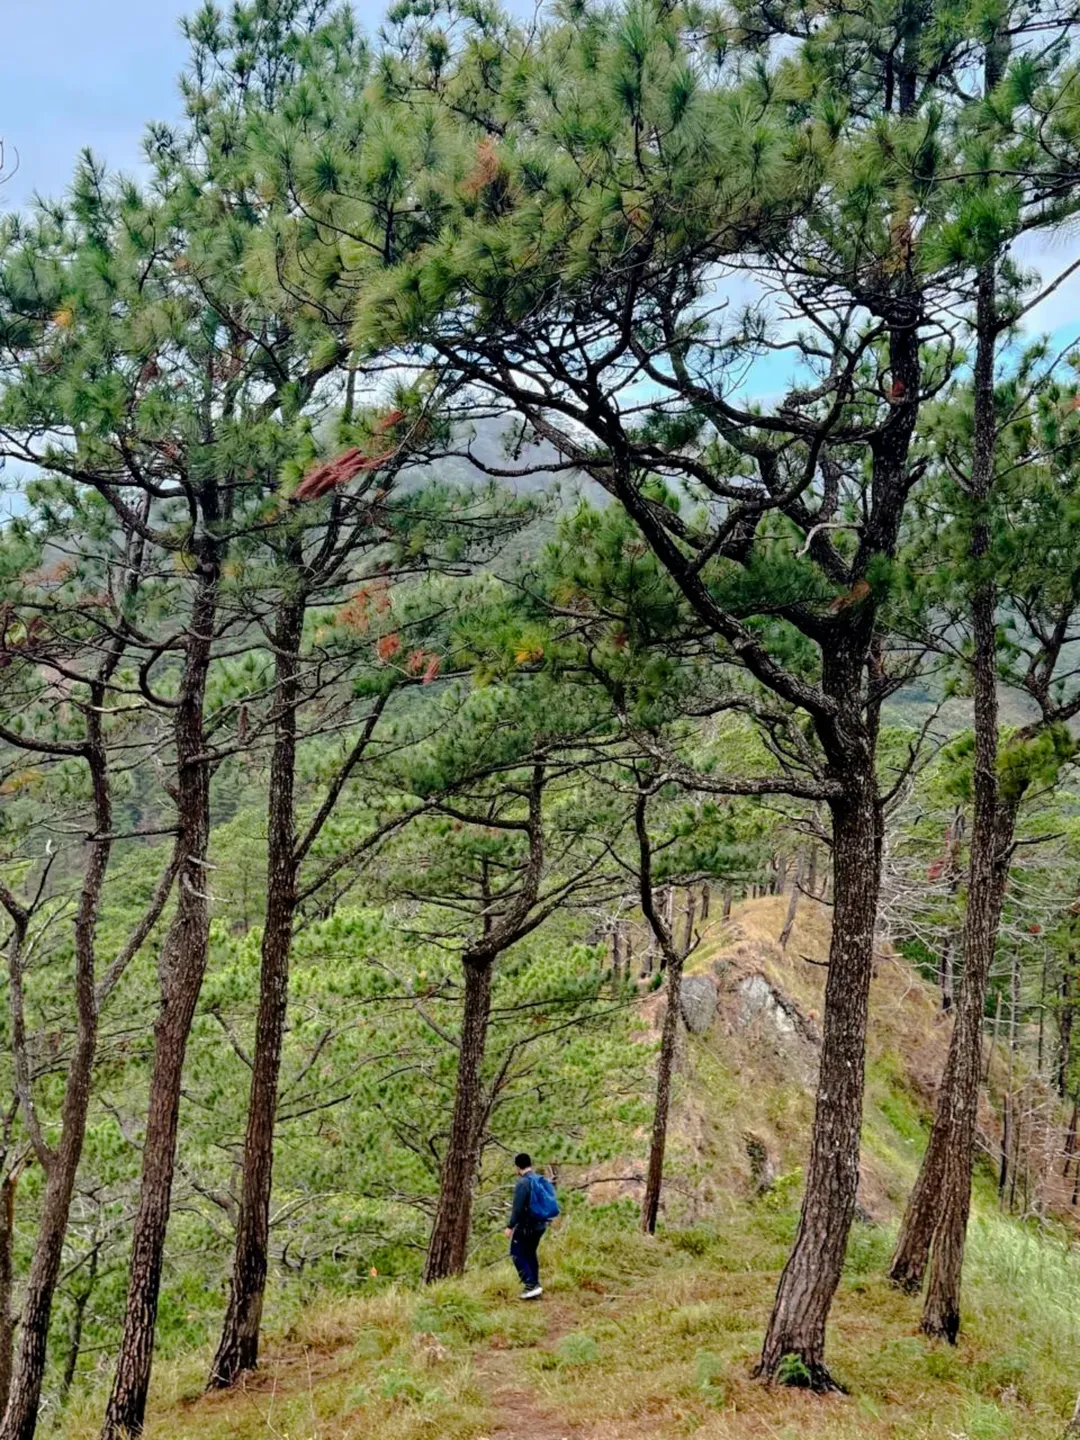
Wearing sturdy, comfortable hiking boots with good ankle support is a must. The trails range from paved roads to steep, rocky paths, so your footwear should be up to the task. Do not attempt the knife-edge sections in trail runners without proper grip — wet or loose soil on those ridges is unforgiving.
Safety Tips for Climbing Mt. Kimat Patil-Ao
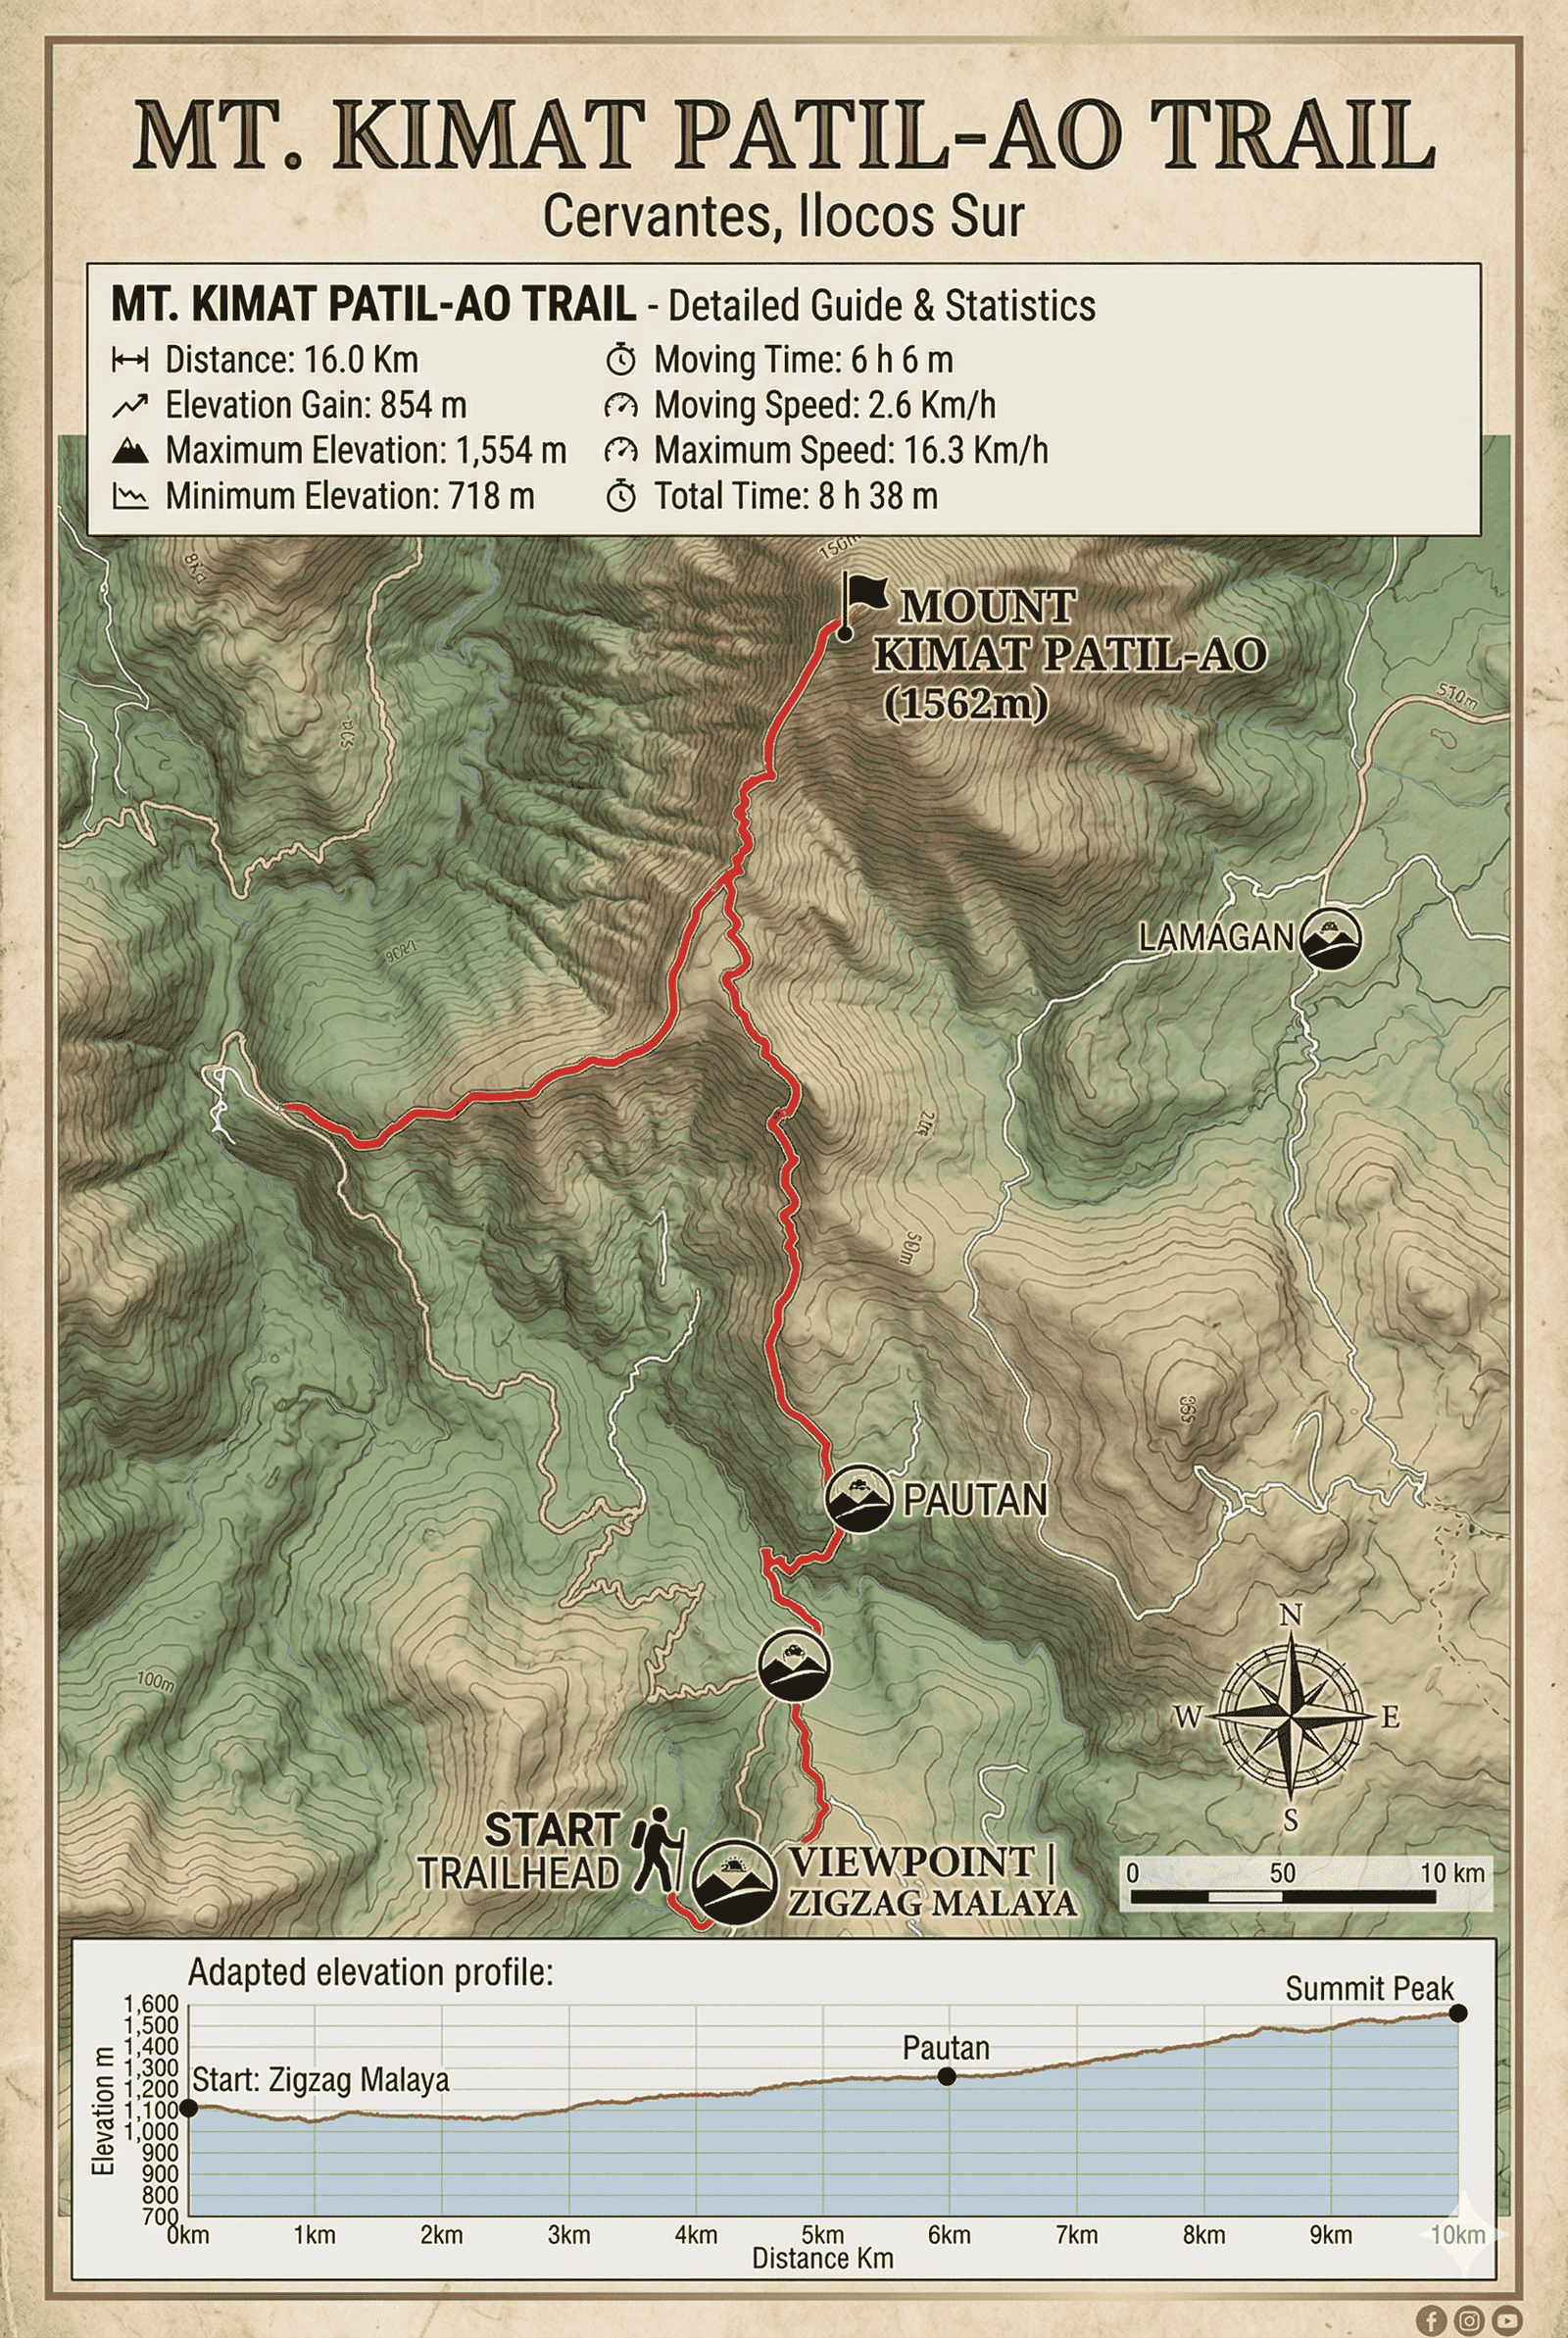
- Start before 5:30 AM. The trail is exposed, and the traverse format removes the comfort of a simple turnaround option. Late starts mean descending steep exit terrain in fading light.
- Do not rely on water sources. Water is the biggest practical caution. Refill points may appear in some seasons, but treat them as a bonus, not a guarantee.
- Never skip the guide. The traverse exits on a completely different road from the jump-off. A guide ensures you stay on the correct ridge and do not miss the Zigzag exit.
- Pre-arrange your exit pickup. Confirm your habal-habal or driver’s contact before you start the trail, not when you arrive at the exit exhausted and with no signal.
- Treat mobile coverage as inconsistent. Download maps before the trip, keep key contacts saved offline, and do not assume you can fix transport issues on the fly once you are already deep into the route.
- Check weather before traveling. The Bessang Pass area is subject to Ilocos weather patterns. Rain can make the knife-edge sections dangerously slippery and can close mountain access entirely during typhoon season.
For context on how this difficulty compares to other trails, see this major climb difficulty guide covering 5/9 to 8/9 mountains in the Philippines.