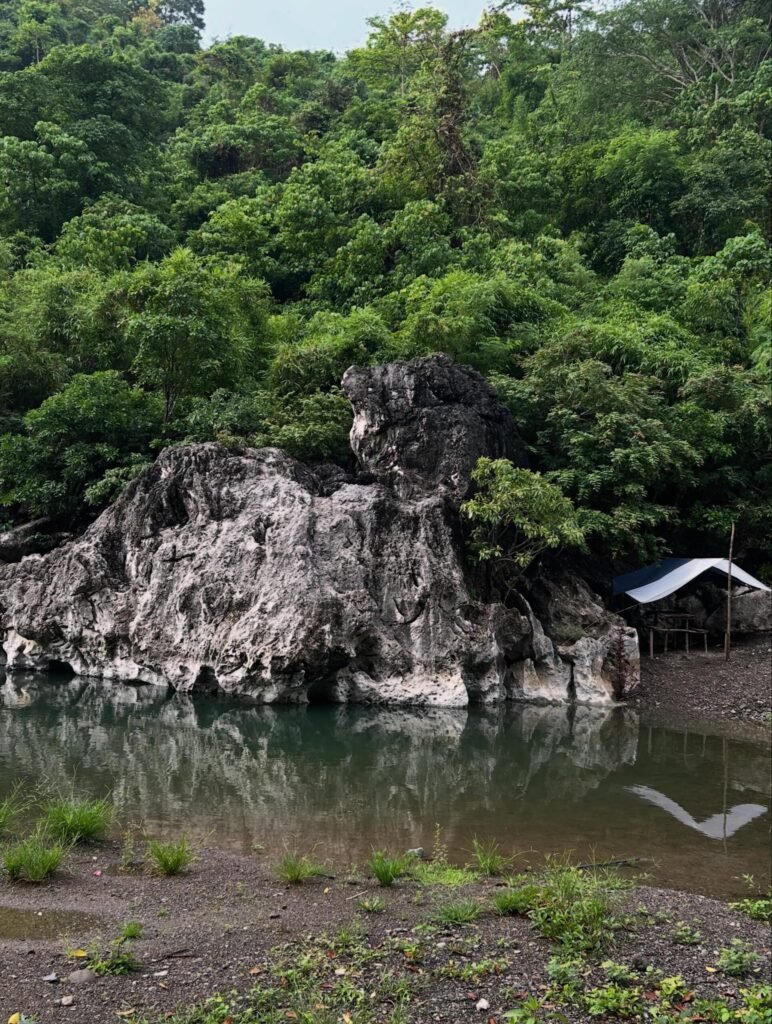
The San Miguel Trilogy (Mt. Manalmon, Mt. Gola, Mt. Matinik) in San Miguel, Bulacan is a single-day circuit of three limestone peaks inside Biak-na-Bato National Park. All three are accessed from one jump-off in Sitio Madlum, Barangay Sibul.
I did the full trilogy in October 2026, and here is what I found: the hills themselves are easy, but the combination of heat, river crossings, and a 6.18-km loop with 381 m of elevation gain makes it a tiring day if you do all three back to back. Pack it right and sequence it well and you will finish smiling. Wing it and you will be the one slumped under a tree while everyone else queues for the Monkey Bridge.
If you want to compare it to other similar linked-peak adventures around the country, the Nasugbu Trilogy itinerary and fees is a good benchmark from a different province.
- ₱1,100 is the guide fee for the full Manalmon/Matinik/Gola trilogy day hike, plus ₱30 environmental fee per person (as of October 2026).
- 6.18 km loop, 381 m total elevation gain, starting and ending at Sitio Madlum, Barangay Sibul.
- Mt. Matinik sits at 240 MASL, notably higher than Manalmon (196 MASL) and Gola (210 MASL), and is the most exposed, shadeless peak of the three.
- Walk-ins are accepted on weekdays; large groups or Holy Week visits need a permit emailed to M.A.D.L.U.M. Inc. at least three to five days before.
- The river crossing between peaks changes completely in the wet season: clear and knee-deep from November to May, murky and thigh-deep or higher from June to October.
- Registration opens at 4 a.m. at the barangay hall inside Sitio Madlum. The registration desk is cash only; bring enough bills to cover all fees before you hit the trail.
Table of Contents
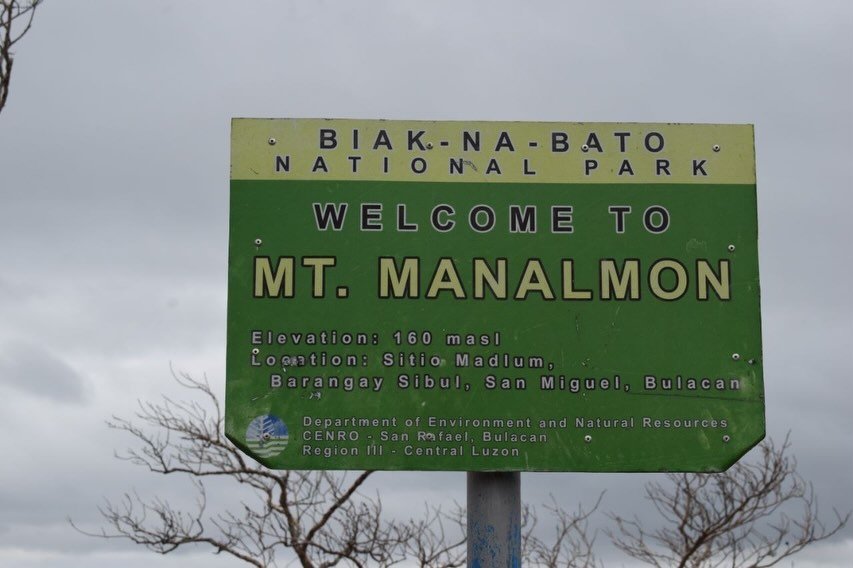
San Miguel Trilogy Difficulty: Is It Hard?
The San Miguel Trilogy difficulty is rated 3 out of 9, which places it firmly in beginner territory but a step above the standard 2/9 rating that most pages assign to Manalmon alone. That single-peak number is accurate for Manalmon by itself. Add Gola and Matinik in sequence and the cumulative effort earns the higher rating.
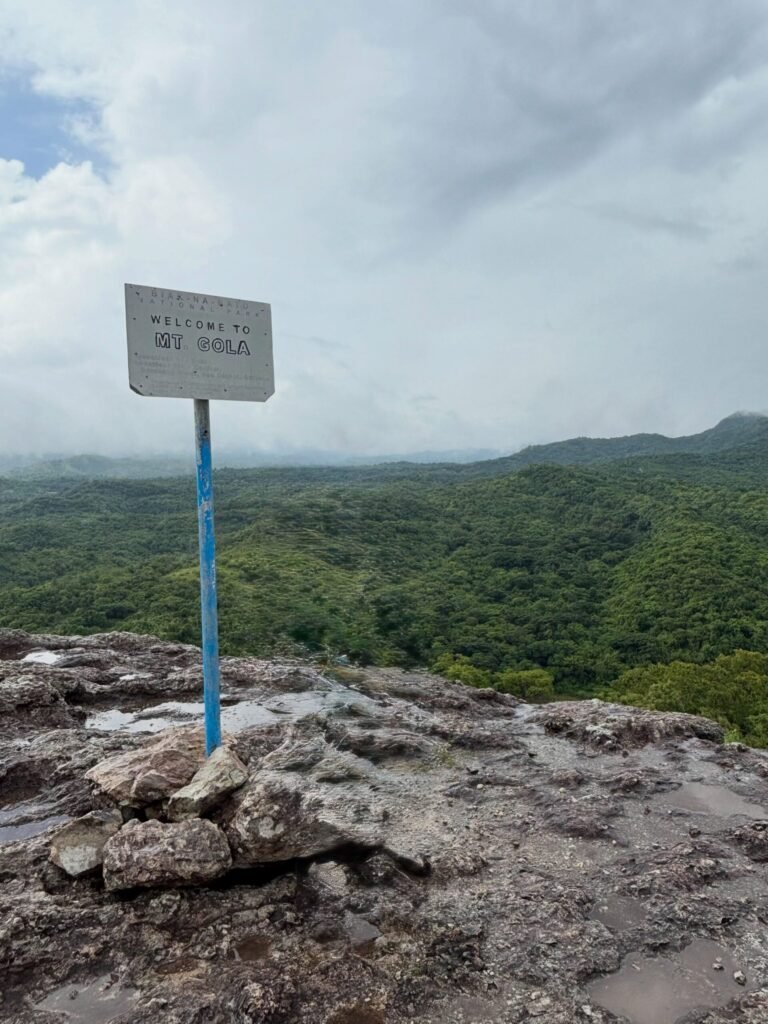
Mt. Manalmon difficulty is 2/9 on its own: one steep boulder section of roughly 30 metres at about 50 degrees, the rest a shaded forest path. Mt. Gola difficulty is also rated 2/9, but local guides consistently call it the harder of the two original peaks. Its angles hit 65 degrees on the upper section and you use fixed ropes to pull yourself up the craggy face. Mt. Matinik difficulty is comparatively gentle in terms of slope, mostly flat terrain with rope sections, but it is the hottest of the three. The path runs through open ground with almost no tree cover.
For most adults who walk regularly, the trilogy is doable in one day. Children under ten and anyone with knee problems should think carefully: the limestone outcroppings are sharp and uneven, and the descent on Gola is awkward on tired legs. If you want a broader sense of where this sits among Philippine mountains by difficulty, the beginner-friendly minor climbs guide lays it out clearly.
Trail class is 1 to 2. The trail is composed of woodlands with no limatik (blood-sucking leeches), no rattan, but confirmed poison ivy, stinging nettle, and sand mites along sections of the path. Long sleeves and long leggings are not optional on Matinik in particular.
Mt. Manalmon, Mt. Gola, and Mt. Matinik MASL: The Three Peak Profiles
Here is the full picture from the trail map and elevation profile at the jump-off:
| Peak | Distance from Start | Elevation Gain | Altitude |
|---|---|---|---|
| Mt. Manalmon | 1.93 km | 163 m D+ | 196 MASL |
| Mt. Gola | 3.37 km | 309 m D+ | 210 MASL |
| Mt. Matinik | 4.27 km | 353 m D+ | 240 MASL |
| End (loop) | 6.18 km | 381 m D+ | ~55 MASL |
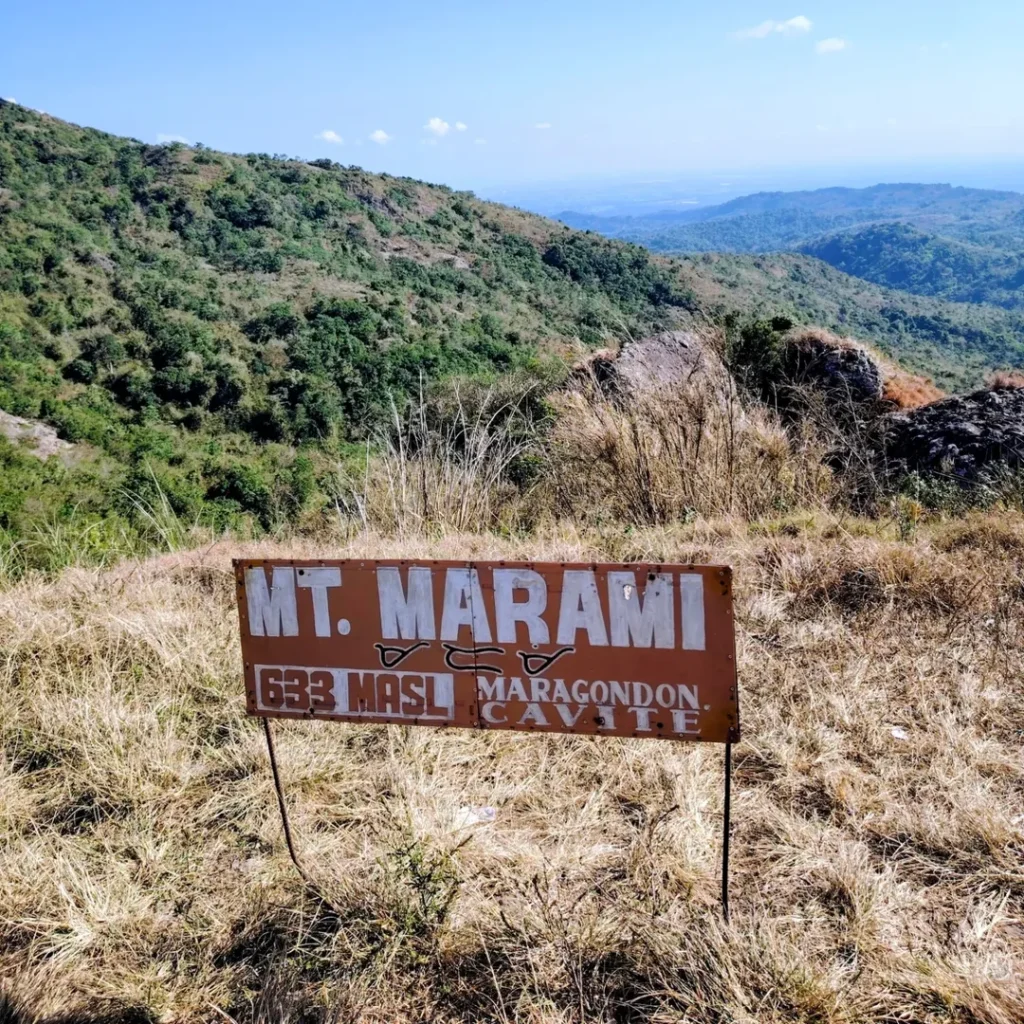
Mt. Manalmon MASL is 196. Mt. Gola MASL is 210. Mt. Matinik MASL is 240, the highest of the three and verified at the jump-off. Older posts and one 2026 event listing put Matinik as high as 361 MASL, but the elevation profile board at the jump-off reads 240 MASL and that is the number to use for planning.
What all three share is karst limestone geology. The rock is fractured, jagged, and razor-edged in places. Soft shoes get cut. The jumble of loose rock near the Gola summit is the most technical footing on the entire loop.
The Mt. Manalmon Trail and Hike: What to Expect
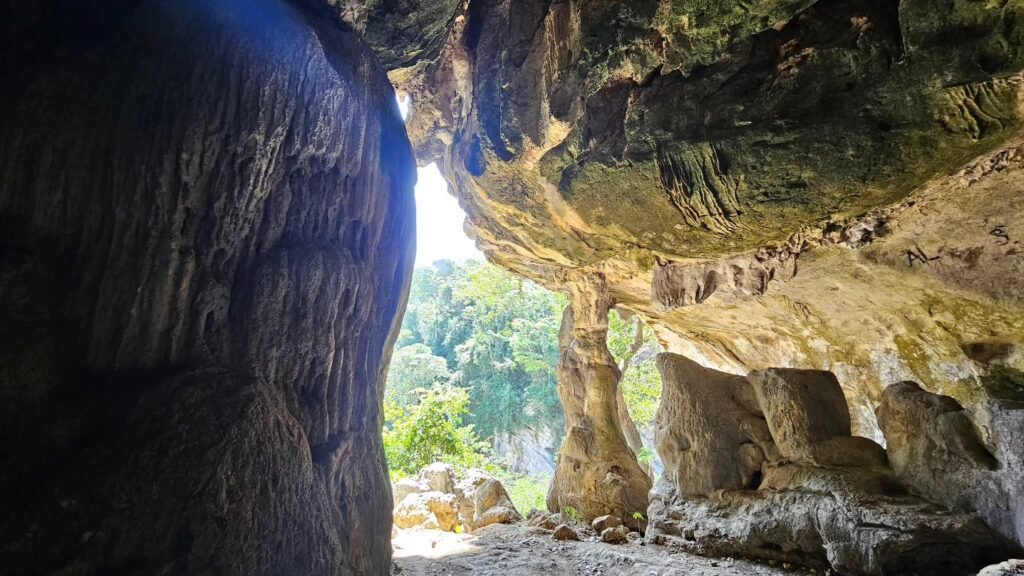
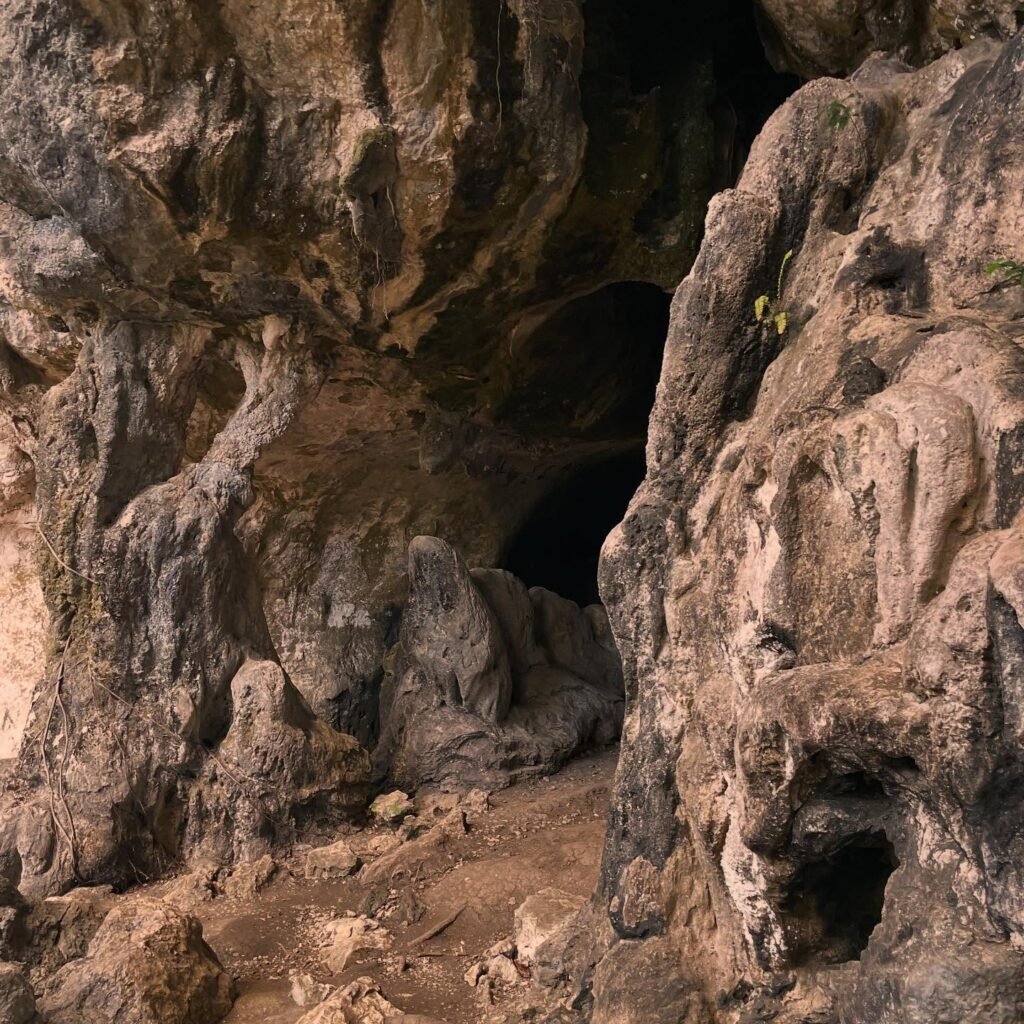
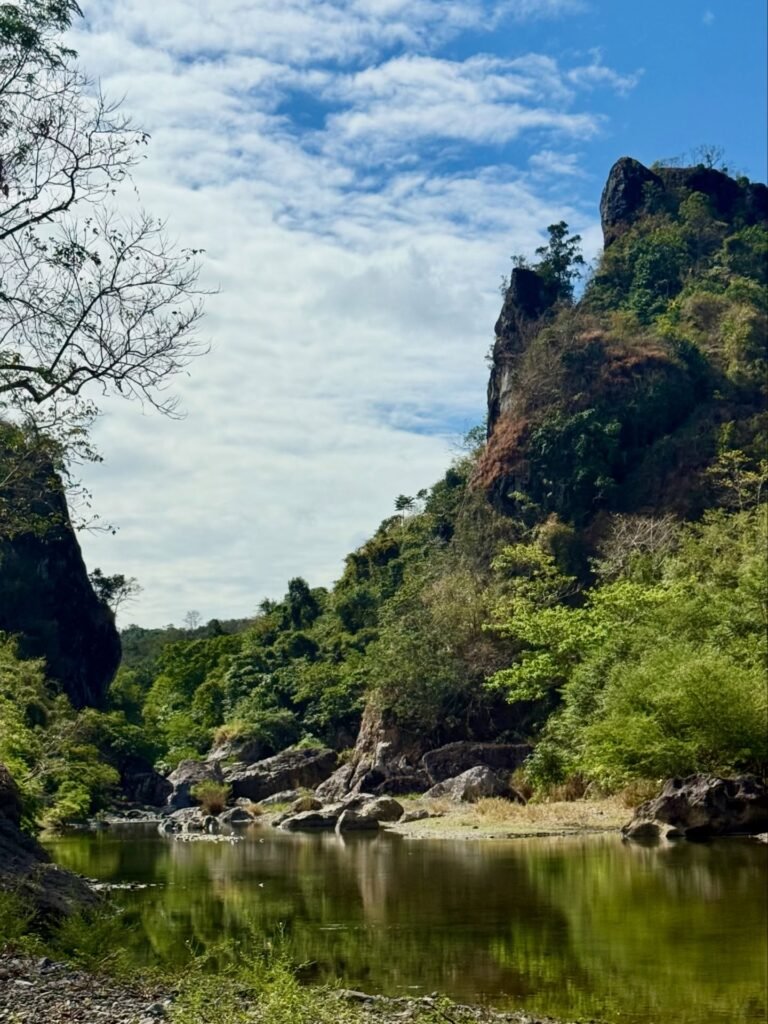
The Mt. Manalmon hike starts in a way no other trail I have done begins: you walk through a cave. A 30-step concrete ladder drops you into the entrance of Madlum Cave, you pass through a narrow limestone corridor, and you exit on the riverbank on the other side. That river crossing, knee-deep and clear in the dry season, is what separates Manalmon from the other two peaks.
After the crossing, the Mt. Manalmon trail follows a shaded forest path through secondary-growth trees and bamboo groves. The only hard section is the final 30-metre boulder scramble at about 50 degrees, where you use handholds on exposed limestone to haul yourself to the summit. The cave entry begins at 8 a.m. under the recommended sequence, and the summit is reachable by 9 a.m. Descent takes you back down by 9 a.m. if you move steadily and take your summit photos in turns, because the platform is small and groups have to rotate.
The guide-to-hiker ratio for Manalmon is one guide per ten hikers. For Matinik, that tightens to one guide per five hikers, which is why the Matinik guide fee is higher despite gentler terrain. One guide covers all three peaks under the trilogy rate, confirmed at the registration desk.
From the Manalmon summit, you get a clear view east toward the Sierra Madre and north toward Mt. Arayat. The platform is small; large groups take turns for photos.
One practical note on sequencing: the itinerary recommended at the jump-off sends you to Matinik first, while the morning is cool and the exposed sections are still in partial shade. The guides push for Matinik at 7:30 a.m. and Manalmon last. Trust them on this.
Fees and Registration (2026 Rates)
The fee board at the barangay hall is the first thing you see after signing in. Fares are managed by M.C.G.G.O. Inc., the guide cooperative running the site, and the figures below are as of October 2026. The registration desk is cash only.
These fares move with diesel prices, so expect them to shift a little between trips.
Environmental/registration fee: ₱30 per head, paid at the barangay hall before you hit the trail.
Guide fees for day hikes:
| Trail | Guide Fee |
|---|---|
| Mt. Manalmon only | ₱400 |
| Mt. Gola only | ₱400 |
| Mt. Matinik only | ₱500 |
| Manalmon + Gola (twin hike) | ₱700 |
| Manalmon + Matinik | ₱800 |
| Matinik + Gola | ₱800 |
| Full trilogy (Manalmon + Matinik + Gola) | ₱1,100 |
Overnight guide fees:
| Trail | Guide Fee |
|---|---|
| Mt. Manalmon or Gola overnight | ₱700 |
| Mt. Matinik overnight | ₱800 |
| Manalmon + Gola overnight | ₱1,100 |
| Manalmon + Matinik overnight | ₱1,200 |
| Full trilogy overnight | ₱1,600 |
You do not need separate arrangements for Gola. Confirm this at the counter when you arrive anyway, because the guide assigned to your group handles Manalmon, Matinik, and Gola the whole day.
The Monkey Bridge costs ₱25 per person. Cave guide fees are posted on the same board. CHECK: Madlum Cave guide fee from the M.C.G.G.O. board CHECK: Bayukbok Cave fee from the current board The view decks, Titanic View Deck, Aguilus Peak, and Malawin View Deck, each carry a ₱20 fee.
Camping fees run ₱300 to ₱600 per night for assigned campsites. Tent rental is ₱300, chair rental ₱300. Showers cost ₱5 to ₱20.
For a group of five splitting costs, the full trilogy guide fee works out to ₱220 per person on top of the ₱30 environmental fee. Solo hikers carry the full ₱1,100 guide fee alone, which is the main reason most solo travellers join an organised van tour from Manila instead.
The San Miguel LGU tourism office posts updates and activity alerts on the SMB Turismo Facebook page.
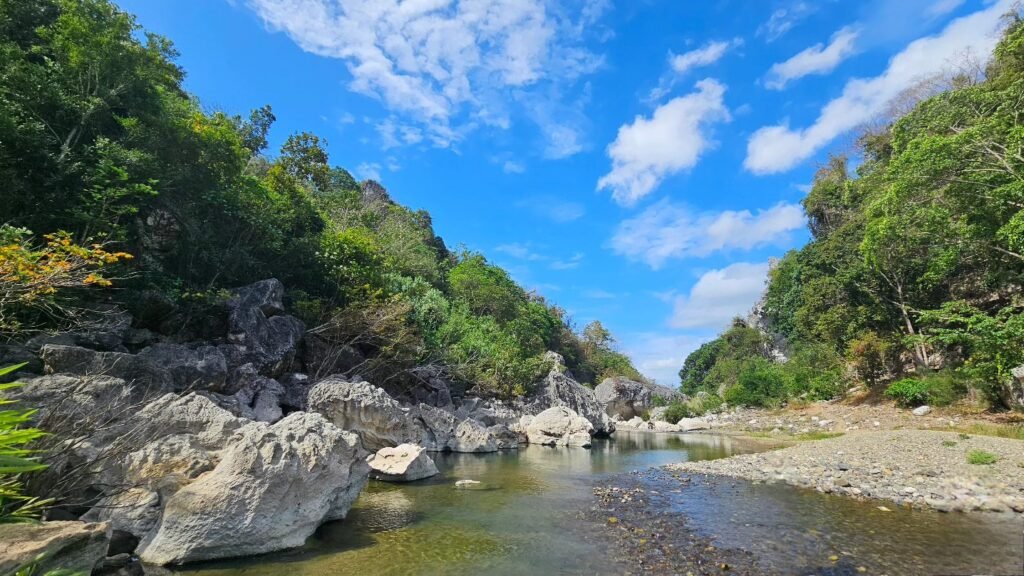
How to Get to the San Miguel Trilogy from Manila
From Manila, the total travel time is roughly two to three hours by bus on a normal weekday morning.
By public transport:
- Board a bus bound for Cabanatuan or Gapan at Cubao (Quezon City), Pasay, or PITX in Parañaque. Use Baliwag Transit, Genesis Transport, Five Star Bus, or ES Transport.
- Tell the conductor to drop you at the Kamias intersection or Sibul Road in San Miguel, Bulacan. The landmark is a large Red Horse Beer bottle statue on the left side of the highway heading north.
- At the Kamias intersection, take a tricycle (a three-wheeled motorcycle cab) from the CENTODA terminal to Sitio Madlum. The ride takes 30 to 45 minutes and costs ₱200 to ₱240 per tricycle (fits three to four passengers). The road is paved most of the way, turning to dirt on the final approach.
Bus fare from Manila is ₱117 to ₱150 (as of October 2026). Fares here follow diesel and gas prices, so the number you pay on the day may differ from what you see above. Do not board a bus using the SCTEX (Subic-Clark-Tarlac Expressway) route; it bypasses San Miguel entirely. Confirm with the conductor before sitting down.
By private vehicle: Input “Sitio Madlum” or “Mt. Manalmon jump-off” into Google Maps or Waze. Parking at the community area costs ₱15 to ₱50 on a dirt lot. The road holds a regular car without issues in dry weather.
Organised van tours from Manila bundle several costs into one payment, typically ₱1,400 to ₱1,700 per person:
- Transport from Manila
- Guide fees
- Environmental fees
These are worth considering for solo travellers who would otherwise carry the full guide fee alone.
If you are planning a longer Bulacan trip, the complete Bulacan tourist spots guide covers the rest of the province well.
Best time to hike San Miguel Trilogy
The dry season, November to May, is the safer and more comfortable time. The Madlum River sits clear and knee-deep at the crossing points, the trails drain well, and you can move between peaks without the river adding real risk.
The wet season is a different hike. The river turns murky brown, levels rise to thigh-deep or higher, and the crossing becomes hazardous. The 2014 tragedy at Madlum was caused by an upstream flash flood on a clear-sky day: heavy rain on the mountain sent a surge downstream without warning. The LGU can cancel permits and close the site any time there is a threat of strong rain. If the guides say no, they mean no.
Early warning signs the guides watch for: river water turning from green to brown, the water level dropping suddenly, and a low rumbling from the gorge. If any of these appear mid-hike, move to higher ground immediately.
I went in October 2026, which is still wet season. The river was passable but visibly higher and murkier than the photos from December visits. The guides were watching the water the whole time. If you have flexibility, November to February is the window I would choose.
December to February also brings cooler mornings, which matters most on Mt. Matinik’s exposed, shadeless path. Going to Matinik at 7:30 a.m. in February feels very different from the same hour in April.
The Monkey Bridge and Other Activities at Sitio Madlum
The Monkey Bridge is a suspended crossing about 15 metres above the Madlum River, built from two parallel steel cables, one for your feet and one for your hands. A safety harness clipped to an overhead lifeline is provided for every crossing. The crossing costs ₱25 per person.
The bridge has become the most photographed point of the whole day: crossing it takes real core balance and a moment of deciding to trust the cable. It is safe, it is short, and it is worth every second of nervous laughter.
Most people do the Monkey Bridge after finishing the peaks. The guides naturally sequence the day as peaks in the morning, bridge and caves in the afternoon, river swim at the end. You want your legs fresh for the climbs.
River swimming at the designated safe zones near the jump-off is free and is the best way to close a hot morning. In the wet season, swim only where the guides show you.
Sample Itineraries: Twin Hike vs. Full Trilogy
Both itineraries assume arrival at Sitio Madlum by 7:15 a.m. Registration opens at 4 a.m., but a 7 a.m. arrival is realistic on the bus route from Manila.
Full Trilogy Day (recommended sequence):
| Time | Activity |
|---|---|
| 4:00 AM | Depart Manila via Cabanatuan-bound bus |
| 6:30 AM | Arrive Kamias intersection, board tricycle to Sitio Madlum |
| 7:15 AM | Register, pay fees (cash only), get assigned guide |
| 7:30 AM | Start hike to Mt. Matinik (coolest window for the exposed peak) |
| 9:00 AM | Summit Mt. Matinik |
| 10:30 AM | Descend Matinik, head to Mt. Gola bifurcation |
| 11:30 AM | Summit Mt. Gola; begin descent |
| 12:00 PM | Descend Gola, cross river, start Mt. Manalmon approach via Madlum Cave |
| 1:00 PM | Summit Mt. Manalmon, descend, return to jump-off |
| 1:30 PM | Lunch at community carinderias (local eateries) |
| 2:30 PM | Bayukbok Cave spelunking (optional) |
| 4:30 PM | Monkey Bridge crossing (₱25 per head) |
| 5:00 PM | River swim at designated safe zones |
| 5:30 PM | Wash up, log out at barangay hall |
| 6:00 PM | Tricycle back to Kamias, board Manila-bound bus |
Twin Hike Day (Manalmon + Gola, no Matinik):
| Time | Activity |
|---|---|
| 5:00 AM | Depart Manila |
| 8:00 AM | Arrive Sitio Madlum, register |
| 8:00 AM | Enter Madlum Cave, begin Mt. Manalmon trail |
| 9:00 AM | Summit Mt. Manalmon |
| 9:00 AM | Descend Manalmon, head to Gola bifurcation |
| 10:30 AM | Summit Mt. Gola; begin descent |
| 11:30 AM | Return to river, Monkey Bridge crossing |
| 12:00 PM | Lunch at community carinderias |
| 1:00 PM | Madlum Cave historical walk-through |
| 2:00 PM | Depart Sitio Madlum |
| 3:00 PM | San Miguel town proper: pastillas de leche (a soft milk sweet), pabalat papercrafts |
| 5:00 PM | Return to Manila |
The twin hike guide fee is ₱700, versus ₱1,100 for the full trilogy. The time difference is roughly two hours of hiking. If you have never been and are unsure of your fitness, the twin hike is a reasonable first visit. Come back for Matinik once you know what the terrain feels like. For anyone comparing this to other Philippine mountain ratings, the guide to major climbs in the Philippines shows how much further the difficulty scale goes from here.
What to Bring
The mix of river crossings, open limestone slopes, and cave passages means your gear list is different from a standard forest hike.
Footwear: Amphibious hiking sandals or aqua shoes. Regular rubber shoes fill with water at the river crossing and stay wet for hours. Heavy boots are worse. You want shoes that drain and grip wet limestone.
Clothing: Quick-drying synthetic fabrics, long leggings, and a long-sleeved rash guard. Jeans are the wrong choice: they absorb water, take hours to dry, and restrict movement on the boulder scramble. The poison ivy, stinging nettle, and sand mites along the Matinik section make full arm and leg coverage a practical necessity, not a preference.
Sun protection: Wide-brimmed hat, arm sleeves, and SPF 50+ sunscreen. The Matinik approach and the Gola summit have no canopy cover. Midday heat on open limestone is intense.
Water: Carry at least 2 litres from the jump-off. There is no water source on the Matinik trail. You cannot refill between the start and your return to the river, so bring enough to last the full morning.
Gear:
- Personal headlamp (mandatory for Madlum Cave, keeps hands free)
- Waterproof dry bag (10 to 20 litres) for your phone and dry clothes
- High-calorie trail snacks: the loop runs six kilometres with no food stops between peaks
First aid: A small kit with antiseptic. Minor cuts from limestone are common and the humid environment makes them slow to heal without immediate cleaning.
Cash: The M.C.G.G.O. registration desk is cash only.
Bring enough to cover all fees before you arrive:
- ₱30 environmental fee
- Guide fees
- Monkey Bridge
- Any cave or view deck add-ons
Is the San Miguel Trilogy Worth It?
For the price, nothing near Manila gives you this much variety in a single day. Three summits, a cave, a river, and a cable bridge, all inside a national park with a clean guide system and a real safety record, for under ₱500 per person in a group of five. That is the honest case for it.
The peaks themselves are not dramatic in the way that Batulao or Pico de Loro are dramatic. The views from Manalmon and Gola are wide but not tall. Mt. Matinik is confirmed at 240 MASL, and that number is right: this is a low, hot, limestone circuit, not an alpine climb.
What makes the trilogy worth doing is the combination. The cave entrance to the first peak is unlike any trail start I have encountered in my travels across 69 of the 82 provinces since 2015. The Monkey Bridge delivers on the hype. The sequencing of three peaks through limestone karst keeps the day interesting even when the climbs are technically easy.
Who should skip it: anyone who cannot handle a 6-kilometre loop with repeated river crossings in heat. Anyone visiting during a typhoon warning period. Anyone expecting dramatic alpine scenery. The trilogy is low and hot and sharp underfoot, and that is precisely what it is.
Who should go: first-time hikers wanting a structured, guided introduction to Philippine mountain trails. Groups looking for a full day of varied activity. Families with older children (twelve and up, comfortable in water). Anyone who wants to earn their river swim.
Frequently Asked Questions
Can I do the San Miguel Trilogy as a solo traveller?
Yes, walk-ins are accepted on weekdays. The issue is cost: the full trilogy guide fee is ₱1,100, which you pay alone. Most solo travellers join an organised van tour from Manila at ₱1,400 to ₱1,700 per person. It bundles transport, guide fees, and the environmental fee into one payment.
Is there overnight camping at Sitio Madlum?
Yes. Assigned campsites are available. The overnight guide fee for the full trilogy is ₱1,600.
Tent rental costs ₱300 and chairs are ₱300 each. Showers run ₱5 to ₱20 per use. The water source on site is the Madlum River.
Contact M.A.D.L.U.M. Inc. at m.a.d.l.u.m.inc@gmail.com to arrange permits for overnight stays, especially during peak season.
Do I need a permit in advance?
Small groups on regular weekdays can walk in without a prior permit. For large groups, Holy Week, or peak-season dates, email a letter of intent with participant names and contact numbers to sanmiguelbulacan1874@yahoo.com or m.a.d.l.u.m.inc@gmail.com at least three to five days before your visit. Check the SMB Turismo Facebook page the night before, as the LGU can cancel any permit if there is a typhoon or strong rain threat.
Is there mobile signal on the trail?
Signal is intermittent on all three peaks and along the connecting trails. Do not rely on your phone for navigation or emergency calls mid-hike. Tell someone at home your planned return time before you head out, and stay with your guide.
Can beginners do the full trilogy, or should they start with just two peaks?
The trilogy is rated 3/9, but six kilometres of limestone trail, two river crossings, and three ascents in one day is physically tiring. If you walk regularly and handle heat well, the full trilogy is fine. If you are not sure, book the twin hike (Manalmon + Gola at ₱700 guide fee) for your first visit and add Matinik on a return trip. The guides at the registration desk will give you an honest read once they see your group.
Are there food stalls at the jump-off?
Local carinderias (small eateries) operate near the jump-off. For a fuller meal after the hike, Arki’s Grille on the Maharlika Highway serves Filipino food in an air-conditioned space. Kapihan ni Jose and Pugpog Highland Bikers Cafe in town are good options for coffee after a long morning on the trail.