Mt. Sembrano is a 745 MASL beginner-friendly mountain on the Jalajala peninsula in Rizal, reachable from Manila in under three hours. The trail takes 5 to 7 hours round trip, costs roughly ₱480 to ₱600 per person, and rewards you with a full panoramic view of Laguna de Bay at the summit. A local guide is mandatory, and you must register before 8:30 AM.
Mt. Sembrano Quick Guide
| Detail | Info |
|---|---|
| Mountain | Mt. Sembrano |
| Location | Jalajala Peninsula, Pililla, Rizal |
| Province | Rizal (Calabarzon Region) |
| Elevation | 745 MASL |
| Difficulty | 3/9 (Minor Climb) |
| Jump-off | Barangay Malaya, Pililla, Rizal |
| Best Season | November to February (dry season) |
| Trek Time | 3–4 hrs ascent, 2–3 hrs descent |
| Registration | Malaya Barangay Hall Tourism Desk |
| Campsite | Manggahan Campsite (mid-mountain) |
Table of Contents
Where Is Mt. Sembrano Located?
Mt. Sembrano sits at the tip of the Jalajala peninsula in the province of Rizal, with Laguna de Bay wrapping around it on three sides. That geography is what makes this mountain feel completely different from other Rizal hikes — you are never far from the sight or sound of the lake below.
The mountain rises to 745 meters above sea level and is officially rated 3 out of 9 in difficulty by the local mountaineering community. That rating understates what the trail actually demands, and I will explain exactly why as we go through each section.
Mt. Sembrano belongs to the Calabarzon ecotourism circuit, which also includes mountains like Mt. Daraitan in Tanay and several other minor climbs in eastern Rizal. If you are building up your hiking resume, this is a logical next step after flat nature trails but before full minor-to-major transitions.
How to Get to the Mt. Sembrano Jump-off Point
The jump-off for Mt. Sembrano is at Barangay Malaya Barangay Hall in Pililla, Rizal. Getting there from Manila requires two legs of public transport, but both are straightforward once you know what to look for.
By Public Transportation
Start at EDSA Crossing (Starmall) in Mandaluyong or at a terminal in Cubao, Quezon City. Board a UV Express van or jeepney bound for Tanay Public Market. UV Express is the better choice — it is air-conditioned, faster, and saves you energy before the climb. Expect to pay ₱60 to ₱120 per person for this leg, with a travel time of 1.5 to 2.5 hours depending on traffic along Ortigas Extension and the Antipolo-Teresa highway.
Once at Tanay Public Market, transfer to a local jeepney going toward Pililla and the Jalajala peninsula. Tell the driver you are getting off at Malaya Barangay Hall. This leg costs ₱20 to ₱40 and takes about 30 to 40 minutes along the lake road. Jeepneys depart every 15 to 30 minutes, so you rarely wait long.
Critical note on the return trip: The last jeepney from Barangay Malaya back to Tanay leaves between 6:30 PM and 7:00 PM. Miss it, and you are looking at a chartered tricycle for ₱300 to ₱500 per vehicle. Plan your summit time accordingly.
Leave Manila by 4:00 to 5:00 AM on weekends. That gives you buffer time for traffic and still lands you at the trailhead well before the 8:30 AM registration cut-off.
By Private Vehicle
Program “Malaya Barangay Hall, Pililla, Rizal” into Waze or Google Maps and follow the Manila East Road. The drive takes roughly 1.5 to 2 hours from Metro Manila. Designated parking is available directly beside the Barangay Hall and at the nearby covered courts. The trail entrance is just meters away — there is essentially no walk from your car to the start of the hike. Parking fees are ₱100 for four-wheeled vehicles and ₱50 for motorcycles, collected at the hall.
Permits, Fees, and Guide Requirements at Mt. Sembrano
Registration is mandatory at the Malaya Barangay Hall Tourism Desk, which opens at 5:00 AM daily. The cut-off for day hikers is strictly 8:30 AM — no exceptions are made regardless of experience level or group size.
What You Pay
The municipal registration and environmental fee is ₱100 per person. This covers administrative costs and funds trail maintenance and sanitation at the barangay hall. Shower and restroom facilities post-hike are generally included in this fee.
The mandatory guide fee is ₱600 per group of up to five hikers for a day hike. If you stay overnight, that doubles to ₱1,200 per group. Solo hikers pay the full ₱600 — there is no solo discount, and that is fair given the guide is committing a full day to you. Guides from outside the local cooperative are not accepted; only barangay-certified guides are permitted on the trail.
What You Bring for Registration
Bring at least one valid government-issued ID per group. Everyone signs a Rizal tourism waiver at the desk. For weekend climbs, message the Barangay Malaya Tourism Facebook page at least 48 hours in advance to reserve a guide slot — popular weekends fill up fast, and arriving without a confirmed guide means waiting or being turned away.
No hiking is permitted without a guide. The trail has no markers, the cogon grass on the upper ridge swallows the path, and cross-trails from farmland can send you in completely the wrong direction. This rule is non-negotiable, and honestly, it is also the reason the mountain is as safe as it is.
What Is the Mt. Sembrano Trail Like?
The Mt. Sembrano trail is a 7.5-kilometer out-and-back route that transitions through four completely different environments on its way to the 745 MASL summit. Below is how each section actually feels on your legs and lungs, including a difficulty score for each stage.
Stage 1: Barangay Hall to the Agricultural Zone
Difficulty: 1.5 / 5 — Paved road easing into dirt track; a gentle warm-up that lulls you into comfort.
The trail starts on a concrete road directly in front of the Malaya Barangay Hall. Within a few hundred meters, it shifts to a dirt path cutting through orchards and small farm plots. Locals use these paths daily, so you may share the road with a carabao or a farmer hauling produce. Use this section to find your rhythm, tighten your boots, and drink water while it is still easy. The gradient is gentle and the ground is stable.
Stage 2: Manggahan Campsite
Difficulty: 2 / 5 — Moderate uphill through shaded forest; the body is warm by now and the incline is manageable.
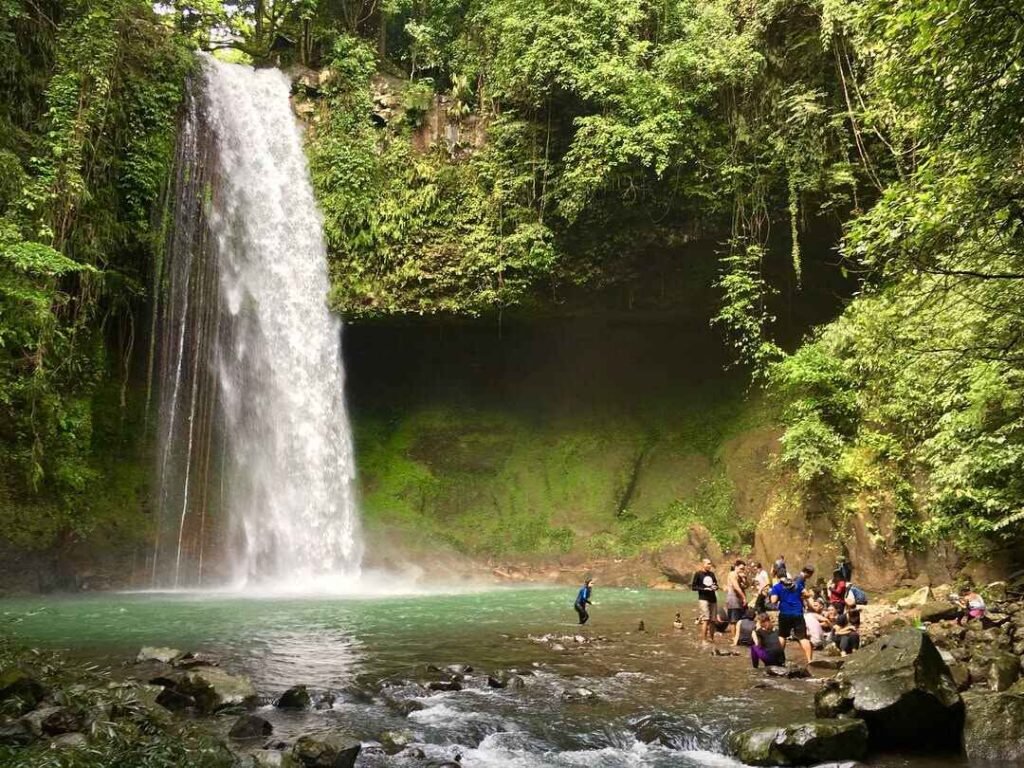
After one to one and a half hours of trekking, you reach the Manggahan area — named for the dense grove of mature mango trees overhead. This is the mid-mountain hub and the most comfortable resting point on the entire trail. There are wooden benches, basic latrine facilities, and sometimes a vendor selling fresh buko (coconut water) and snacks. Eat something here. Drink. Fill your hydration pack if you have a filter. A side trail from this campsite leads five minutes to Manggahan Falls and a natural spring — the only water source on the mountain. During dry months, the falls can shrink to a trickle, so never count on it as your primary water supply.
This is also where the overnight campsite is set up. If you are staying the night, Manggahan beats the exposed summit ridge in every practical way — shade, shelter from wind, and flat-ish ground. Tent pitching costs ₱20 per tent.
Stage 3: The Vertical Forest
Difficulty: 3 / 5 — Near-vertical gradient on roots and loose soil inside a humidity trap; this section finishes most beginners.
This is where Mt. Sembrano stops pretending to be a 3/9. The trail immediately steepens after you leave Manggahan, and within minutes you are pulling yourself up using tree roots and embedded boulders. The incline frequently approaches or exceeds 45 degrees. There are no switchbacks. The forest canopy seals in humidity like a greenhouse, and your sweat stops evaporating. Your heart rate spikes and stays there.
The descent through this section is arguably worse than the ascent. Gravity works against your knees, the clay soil turns frictionless when wet, and muscular fatigue from the earlier climb means your stabilizer muscles are already spent. This is where trekking poles earn every peso you paid for them.
Stage 4: Grassland Ridge to the Summit
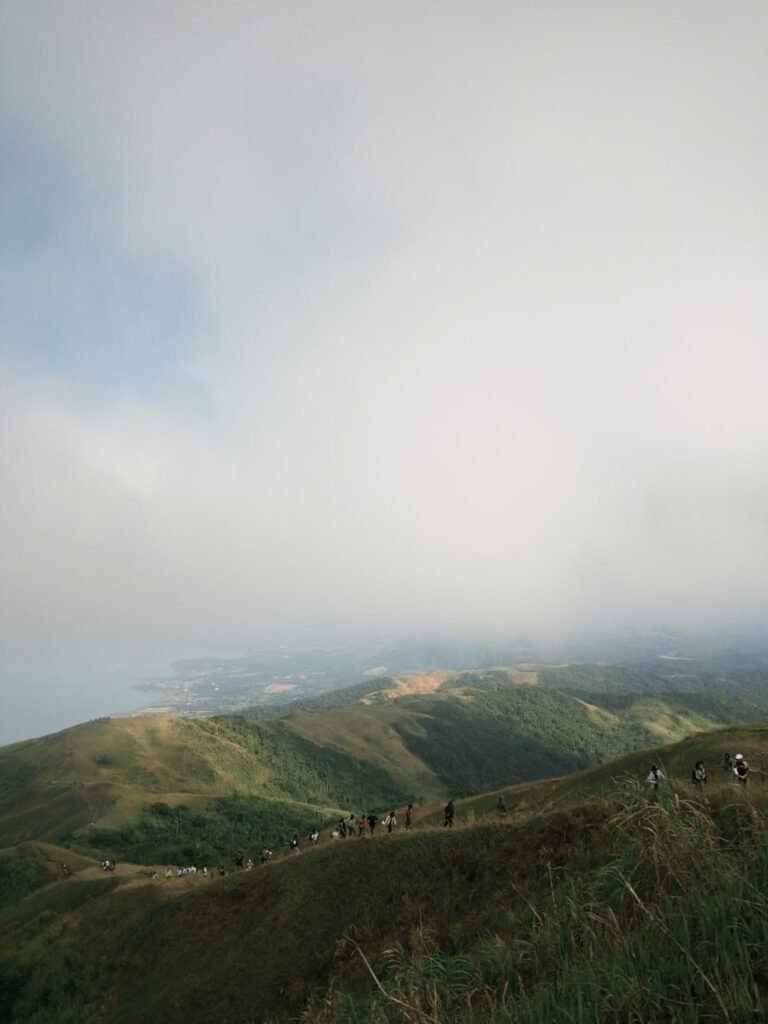
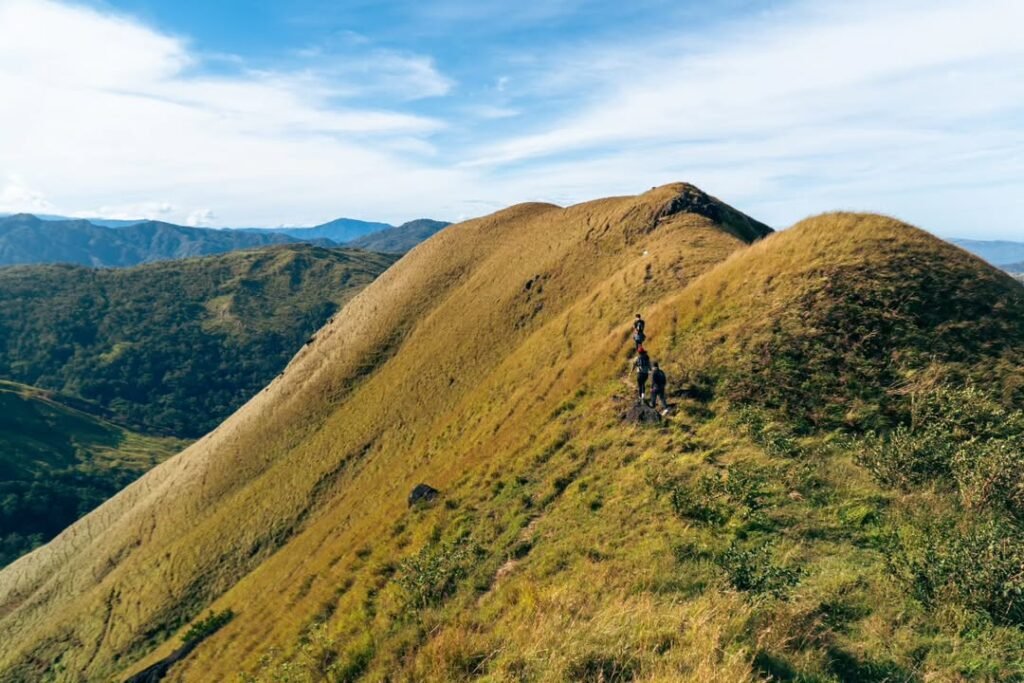
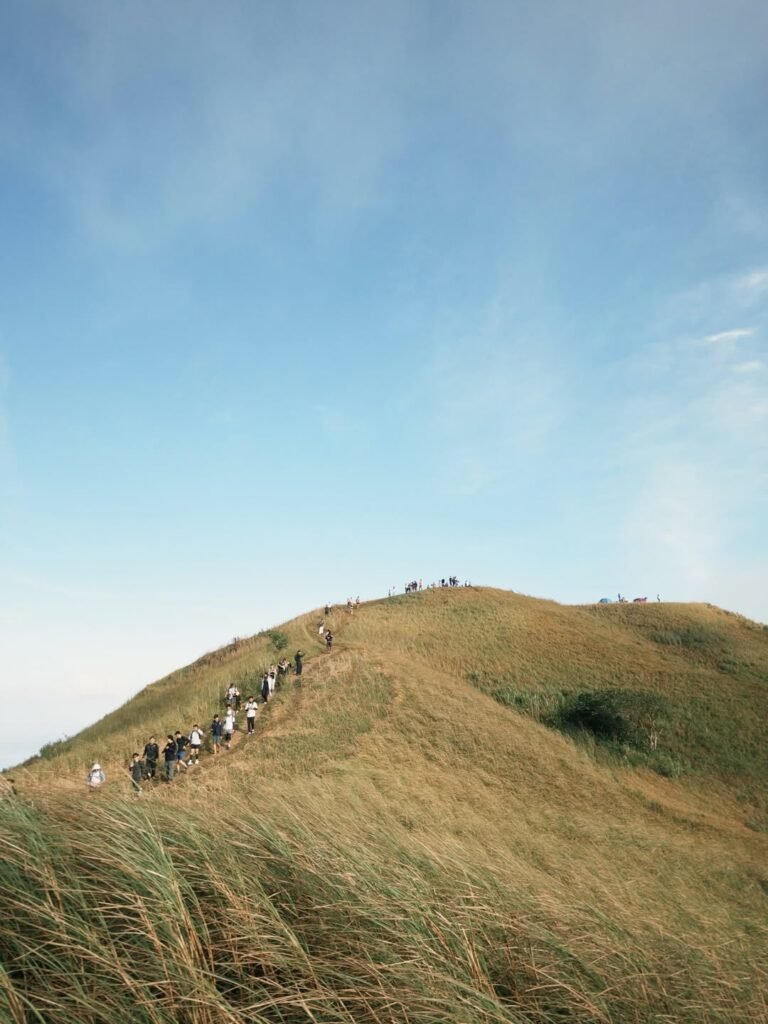
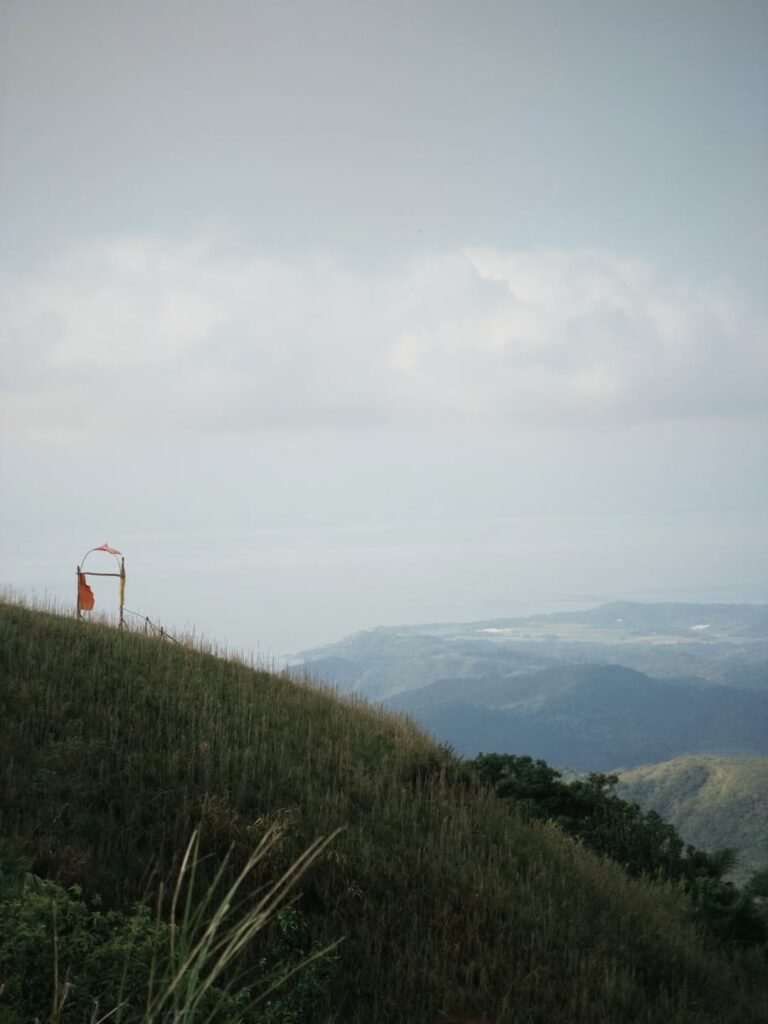
Difficulty: 3.5 / 5 — Easier gradient than the forest, but total exposure to sun, wind, and cogon grass.
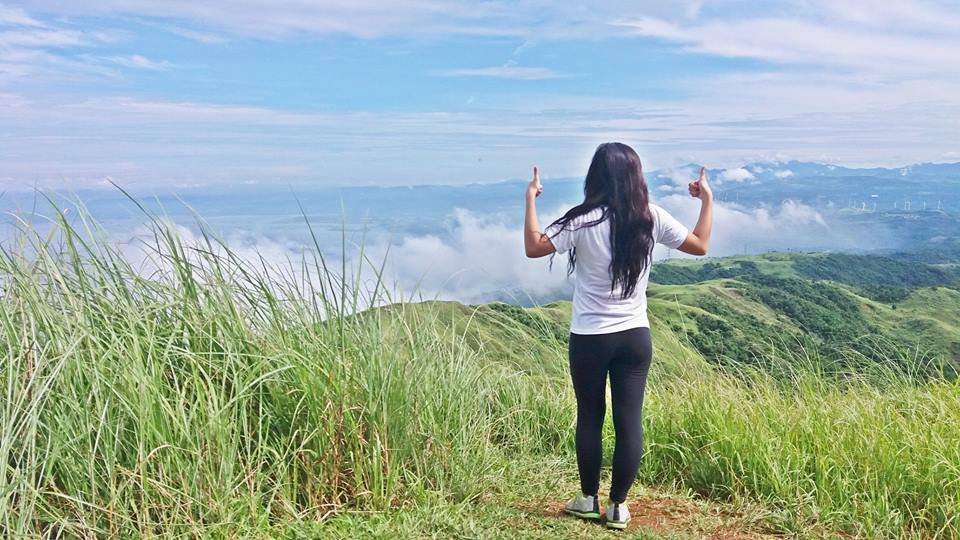
Breaching the treeline feels like surfacing for air. The trail opens onto a rolling grassland ridge, and suddenly you can see everything. The North Peak comes first — a narrow, exposed prominence with limited flat space. From there, the trail dips into a saddle before the final 30-minute push to the South Peak at 745 MASL, the true summit.
When I climbed in June 2026, this section was thoroughly muddy from recent rain. Every foothold required deliberate placement. I used my hands on the way up and spent the descent essentially controlled-sliding with poles as brakes. It was genuinely hard, not “hard for a beginner” — just hard.
The incline eases here, but the open ridge brings its own challenge. There is zero shade. The sun hits hard, especially between 10:00 AM and 2:00 PM. The dominant grass — Imperata cylindrica, or cogon — has serrated edges that will cut exposed arms and legs cleanly through. Wear long sleeves and full-length pants; I came home with two forearm cuts despite wearing a long-sleeved rash guard because I grabbed the grass instinctively during a slippery moment.
The Summit Experience at Mt. Sembrano
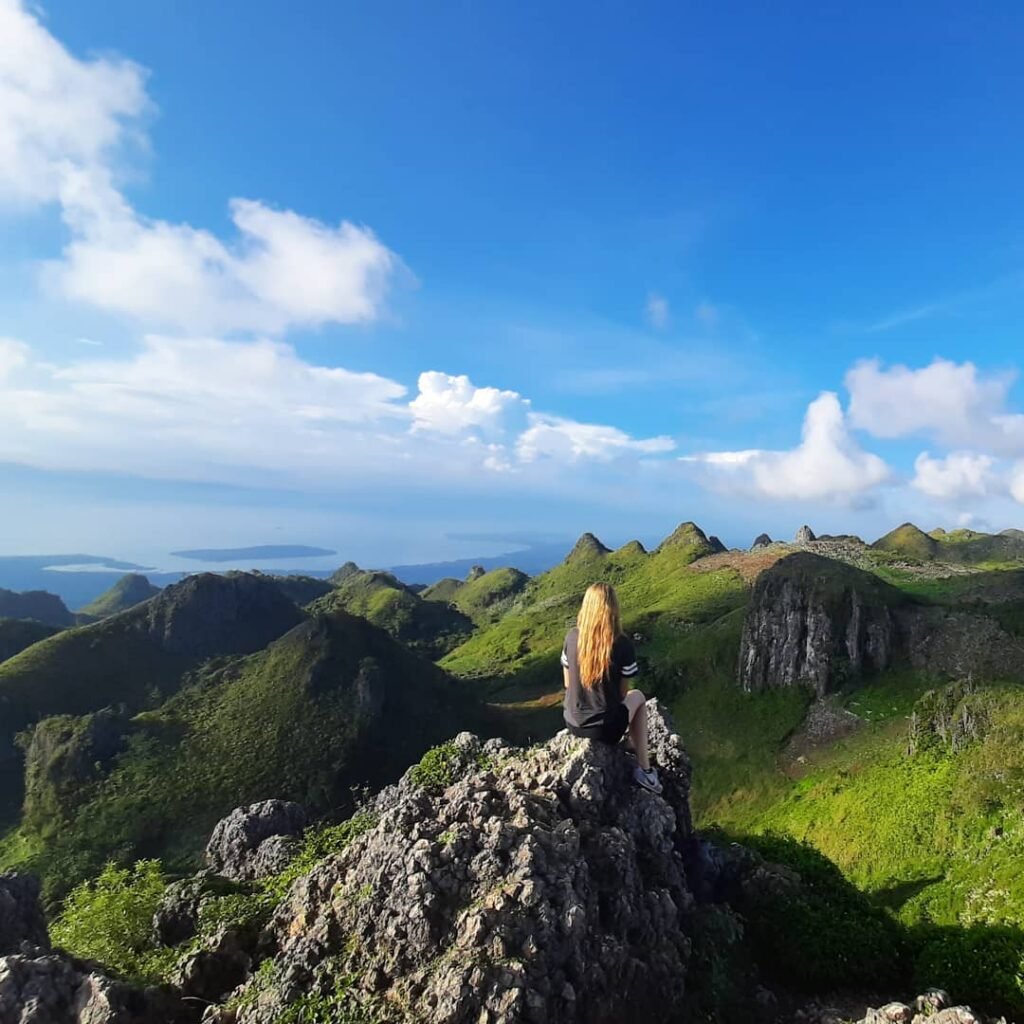
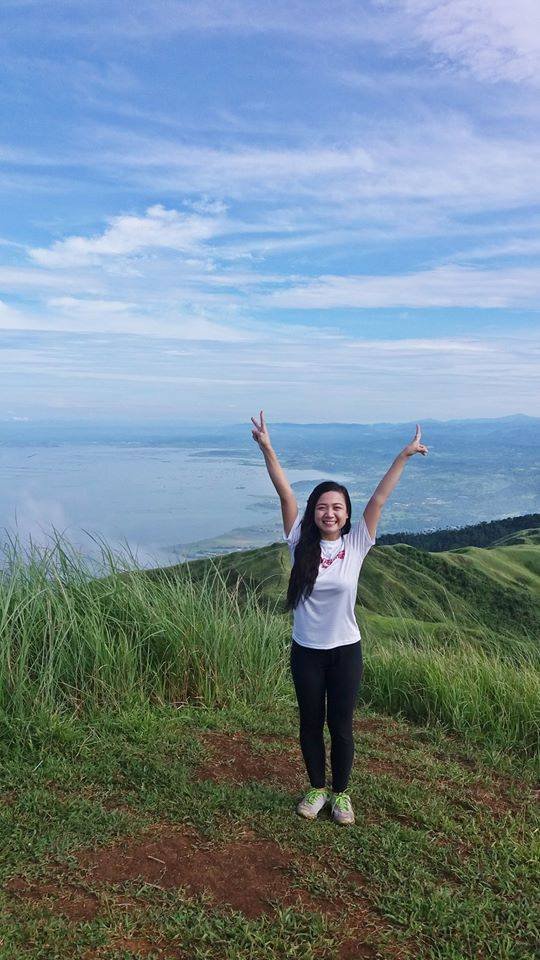
The summit view is the payoff, and it delivers. Standing at the South Peak, you get an unobstructed 360-degree panorama that took my breath away in a way no photo fully captured when I reviewed them later.
Directly below and in every direction is Laguna de Bay, the largest inland lake in the Philippines. You can trace the exact shape of the Jalajala peninsula from up here — a narrow finger of land ringed by water. Talim Island sits clearly in the lake, and on its ridge you can make out the silhouette of Mt. Tagapo, which has sparked the “Twin Dayhike” challenge among endurance hikers doing both peaks in one day.
This comparison between Mt. Sembrano vs Mt. Tagapo comes up constantly in trail forums, and from the summit you understand why — they look like siblings from this vantage.
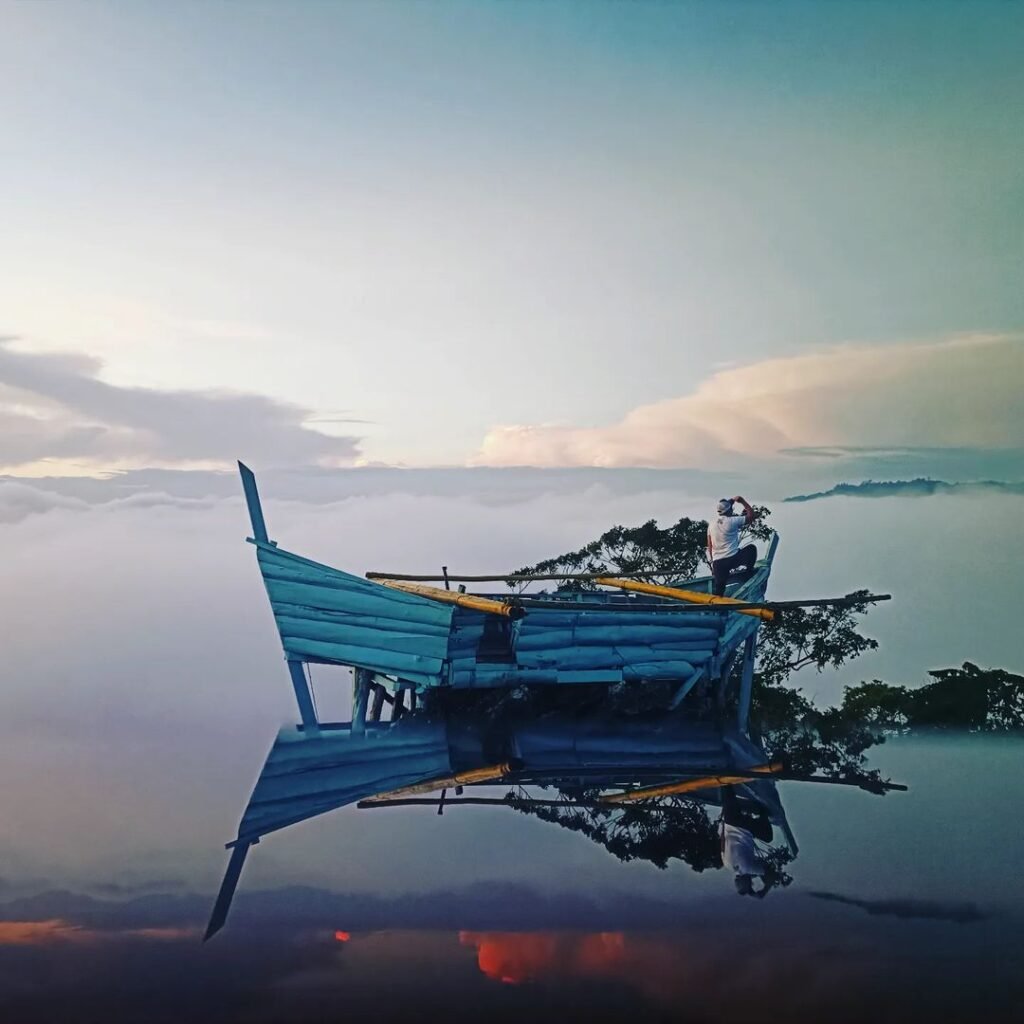
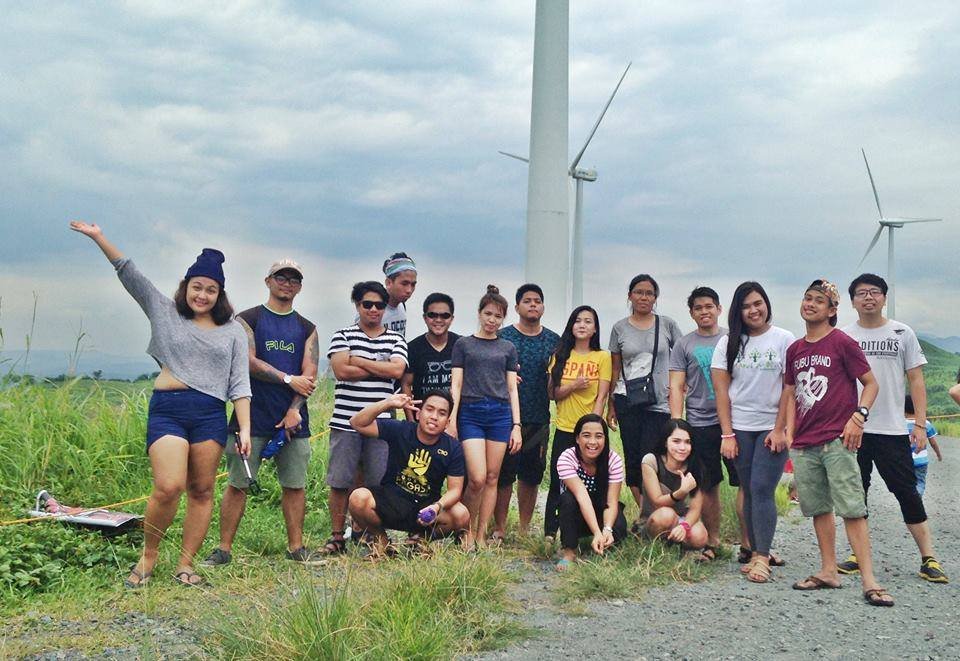
Turning north, the white towers of the Pililla Wind Farm mark the horizon against green hills. On clear days, the Sierra Madre and even distant volcanic peaks including Mount Banahaw and Mount Makiling are visible along the southern skyline. Early morning climbers sometimes catch a sea of clouds over Laguna de Bay when temperature inversion conditions align — a white ocean between the peaks, with Talim Island floating above it like a ship. That is worth the 3:00 AM alarm alone.
I reached the summit just before 10:00 AM in June. The clouds were rolling in fast, and we had maybe 20 minutes of clear views before the ridge fogged over. Eat your lunch here, take your photos, and then start down before the sky decides for you.

Is Mt. Sembrano Good for Beginners?
Mt. Sembrano is appropriate for beginners, but only those who arrive physically prepared and logistically organized. It is not a casual nature walk.
The 3/9 difficulty rating applies to the mountain’s overall classification relative to Philippine peaks, not to how easy the individual trail sections feel. The Vertical Forest section is genuinely steep and slippery — closer to a scramble than a hike — and the descent is harder on the body than the ascent. If you have only walked on flat ground or gentle inclines, your knees and ankles will let you know about it the next morning.
That said, the trail is absolutely completable for a fit beginner who trains for at least four to six weeks beforehand, wears proper footwear, carries enough water, and follows the guide’s pace. If you are looking for a reference point, check out other beginner-friendly hikes in the Philippines that can help you build up trail fitness before attempting Sembrano.
What I’d Do Differently Next Time
Start earlier. I registered at 7:00 AM and was on the trail by 7:30 AM, but in June that still meant hitting the grassland ridge close to 10:00 AM, right as the cloud cover started burning off. An alpine start at 5:30 AM would put me on the summit before 9:00 AM with better light, better views, and a cooler descent through the Vertical Forest.
Bring gaiters. The mud in June soaked through the ankle collar of my hiking shoes within the first 20 minutes of the Vertical Forest. A pair of trail gaiters would have kept things drier and reduced the weight I was carrying on my feet by the end.
Pack a second dry shirt just for the descent. I finished the Vertical Forest completely soaked — not from rain, from the humidity trapped under the canopy. Changing into a dry shirt at Manggahan for the descent would have made the last hour far more comfortable.
Eat a bigger breakfast at the jump-off. I had a tapsilog at one of the sari-sari stores near the Barangay Hall before the climb. It was good — rice, cured beef, fried egg, the ideal pre-hike fuel — but I underestimated how long the Vertical Forest would take and ran low on energy near the summit. Next time, I add an extra rice.

Best Time to Climb Mt. Sembrano
The best months for climbing Mt. Sembrano are November through February, when the dry season brings lower humidity, cooler temperatures, and more stable trail conditions.
March through May is technically dry but brings intense midday heat on the exposed ridge. The grassland functions like a solar oven from 10:00 AM onward, and hydration demands spike significantly. If you climb during these months, an alpine start before 6:00 AM is essential.
June through October is the rainy season, and the trail — particularly the Vertical Forest — turns into a mud chute. I climbed in June 2026 during an overcast, post-rain morning, and the trail conditions were genuinely challenging. The mud was continuous from Manggahan upward, every root was slick, and descent speed was cut nearly in half. The views were also partially obscured by cloud cover. It is still doable in the rainy season, but you need proper footwear and realistic expectations.
The sea of clouds over Laguna de Bay is most likely to appear during cool, dry mornings from November to January when temperature inversion conditions are active over the lake. This is the strongest single reason to target the dry season.
Nearby Attractions After Climbing Mt. Sembrano
The Pililla area has enough to turn your hike into a full day trip or weekend.
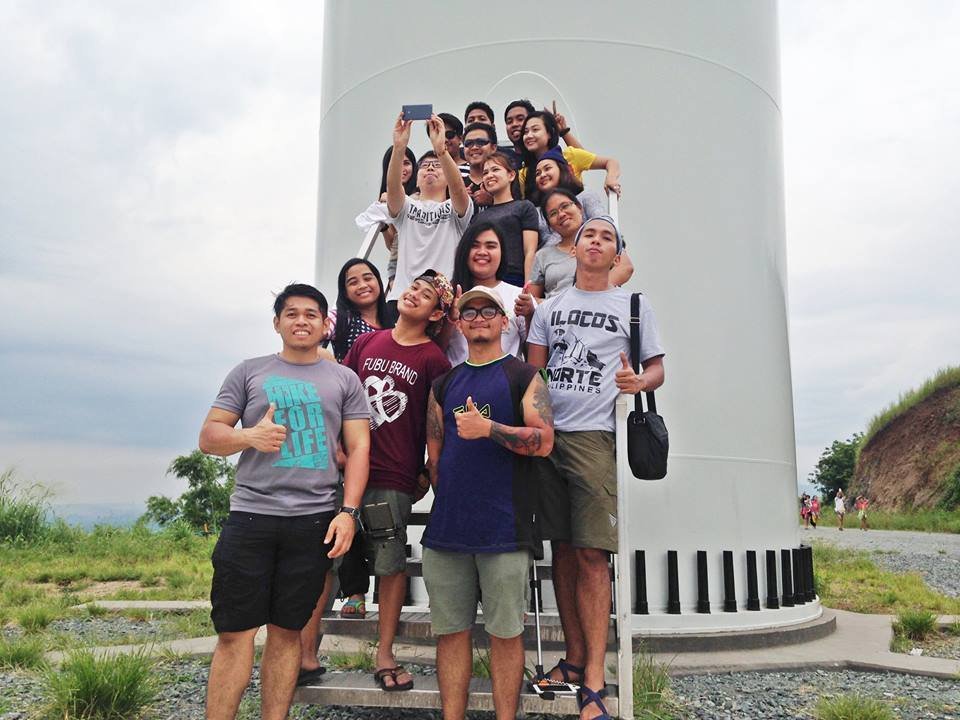
The most obvious stop is the Pililla Wind Farm, roughly 30 minutes from Barangay Malaya by road. The turbines are massive up close — far more impressive than they look from the summit ridge — and the surrounding fields make for good late-afternoon photography. Entrance fees are minimal and the area is well-organized for visitors. Get the full details in this guide to the Pililla Wind Farm.
The Tanay area is also worth exploring on the way back. The municipality has a solid selection of tourist spots in Tanay, Rizal ranging from heritage sites to natural formations. If you still have legs after the descent, the Nagpatong Rock Formation in Tanay is a popular follow-up among hikers who want more from the day.
For overnight stays, Mario’s Lodge near Pililla offers apartment-style rooms at budget-friendly rates. Cozy Bella caters to couples wanting a more curated, minimalist space. Windmill Bliss, positioned right beside the wind farm, is ideal for larger groups. If full recovery after the descent is the priority, Shepherd’s Ridge Mountain Resort in nearby Mabitac, Laguna provides pool access, full-service dining, and genuinely comfortable post-climb accommodation.

Budget Breakdown for Climbing Mt. Sembrano
| Expense | Cost (PHP) |
|---|---|
| UV Express: Manila to Tanay (one way) | ₱60 – ₱120 |
| UV Express: Tanay to Manila (return) | ₱60 – ₱120 |
| Jeepney: Tanay to Barangay Malaya (one way) | ₱20 – ₱40 |
| Jeepney: Barangay Malaya to Tanay (return) | ₱20 – ₱40 |
| Municipal Registration & Environmental Fee | ₱100 per person |
| Guide Fee (day hike, up to 5 pax) | ₱600 per group |
| Guide Fee (overnight, up to 5 pax) | ₱1,200 per group |
| Campsite Pitching Fee | ₱20 per tent |
| Parking Fee (private car) | ₱100 per vehicle |
| Parking Fee (motorcycle) | ₱50 per motorcycle |
| Chartered Tricycle Return (if last jeep is missed) | ₱300 – ₱500 per vehicle |
| Estimated Total per Person (day hike, group of 5) | ₱480 – ₱600 |
Food and personal snacks are not included above. Budget an extra ₱100 to ₱200 for a pre-climb meal at the sari-sari stores near the Barangay Hall and for trail snacks. Even with a generous buffer for contingencies, the entire day hike is achievable for well under ₱1,000 per person.
What to Pack for Mt. Sembrano
| Item | Essential? |
|---|---|
| Hiking shoes / boots with lug soles | Yes — mandatory |
| Trekking poles | Strongly recommended |
| Full-length synthetic hiking pants | Yes — cogon grass cuts exposed skin |
| Long-sleeved rash guard or UV shirt | Yes — sun and cogon protection |
| Wide-brimmed hat | Yes |
| Sunscreen SPF 50+ | Yes |
| Lightweight rain poncho or rain jacket | Yes — weather changes fast |
| 2–3 liters of water per person | Yes — no reliable water on upper trail |
| Water purification tablets or filter | Recommended |
| High-calorie trail snacks and lunch | Yes |
| Energy gels or electrolyte drinks | Recommended |
| Valid government ID | Yes — required for registration |
| Small first aid kit | Yes |
| Headlamp with extra batteries | Recommended |
| Dry bag or rain cover for pack | Recommended |
| Gaiters | Highly recommended for wet season |
| Extra dry shirt | Highly recommended |
| Biodegradable toiletries | Yes — for use on mountain |
Pack light but pack complete. Every unnecessary kilogram you add accelerates fatigue inside the Vertical Forest. DENR official website
Safety Tips for Climbing Mt. Sembrano
Register before 8:30 AM. The cut-off exists because the average round trip is 5 to 7 hours. Starting after 8:30 AM puts you on the treacherous descent in low light or darkness, with no trail markers and no artificial lighting.
Follow your guide’s pace on the Vertical Forest descent. This is where most injuries happen — twisted ankles, knee injuries, full-body falls. Slow and deliberate beats fast and reckless every time.
Watch the sky from the ridge. The peninsular topography channels storms quickly, and the exposed summit ridge has no safe shelter from lightning. At the first sound of thunder or visible storm build-up, descend into the treeline immediately.
Carry all your water from the jump-off. The spring at Manggahan is the only source on the mountain, and it is not reliably potable without treatment. A minimum of 2 to 3 liters per person is not a suggestion — it is the baseline for avoiding heat exhaustion on the grassland ridge.
Never hike alone or without the assigned guide. Mobile signal is intermittent on the ridge and completely absent inside the Vertical Forest. In a medical emergency, your guide is your only communication link to the barangay below.
Tell someone your itinerary. Share your expected return time with a contact not on the trail. This is basic mountaineering practice that most first-timers skip and should not.
Frequently Asked Questions About Mt. Sembrano
Is Mt. Sembrano beginner-friendly?
Yes, but with conditions. The mountain is classified as a minor climb (3/9), and physically fit beginners who train in advance and come properly equipped can complete it. The Vertical Forest section — a near-vertical, root-choked climb inside dense humid forest — is genuinely demanding and will challenge hikers who have only done flat trails. The key factors are appropriate footwear, sufficient hydration, and realistic expectations about difficulty.
How long does it take to hike Mt. Sembrano?
The standard round trip takes 5 to 7 hours for most hikers. The ascent from Barangay Malaya to the South Peak summit runs 3 to 4 hours, and the descent takes an additional 2 to 3 hours. Wet conditions extend both legs, particularly the descent through the Vertical Forest. Factor in rest time at Manggahan Campsite and at the summit, and plan to be back at the Barangay Hall by 5:00 PM at the latest to catch the last jeepney.
Is a guide required to climb Mt. Sembrano?
Yes, a guide is absolutely mandatory. No individual or group may proceed past the lower agricultural zone without a barangay-certified guide. The trail has no standardized markers, and the cogon grass on the upper ridge obscures the path. The guide ratio is capped at 1 guide per 5 hikers; groups of 6 to 10 must hire a second guide. External guides from Manila are not recognized by the local cooperative. This rule is enforced at registration and on the trail itself.
What is the best time of year to hike Mt. Sembrano?
The optimal window is November through February, during the dry season. Trails are more stable, temperatures are cooler, and the sea of clouds phenomenon over Laguna de Bay is most likely during this period. March to May is dry but hot, requiring very early start times. June through October brings heavy rain, mud, and reduced visibility — doable but significantly more challenging, as I can confirm from my June 2026 climb.
What can you see from the summit of Mt. Sembrano?
The South Peak at 745 MASL offers a 360-degree view dominated by Laguna de Bay, the largest inland lake in the Philippines. You can clearly see Talim Island with Mt. Tagapo on its ridge, the white turbines of the Pililla Wind Farm to the north, and on clear days the Sierra Madre range and distant peaks including Mount Banahaw and Mount Makiling to the south. Early morning climbers occasionally witness a full sea of clouds over the lake when atmospheric conditions align — one of the more spectacular natural sights accessible on a day hike from Manila.

Final Verdict: Should You Climb Mt. Sembrano?
Mt. Sembrano earns a solid 4 out of 5 for prepared beginners and intermediate hikers who want a genuine physical test within commuting distance of Manila. The summit view of Laguna de Bay is one of the most complete lake panoramas in Rizal province, the community-managed trail system is well-organized, and the total cost remains well under ₱1,000 per person. Come physically ready, leave Manila before 5:00 AM, wear long pants, carry three liters of water, and trust your guide on the Vertical Forest — do those five things and Mt. Sembrano will be one of the more satisfying day hikes you add to your list.