
Permits, Fees, and Guide Requirements at Mt. Ulap
A guide is mandatory at Mt. Ulap — you cannot hike unguided.
Walk into the Ampucao Barangay Hall on the day of your hike, fill out a manifest form with your emergency contact details, pay the ₱100 registration fee and ₱30 DENR fee directly to the treasurer, and the local association will assign you the next available guide.
Updated 2026 fees from BLGU-Ampucao and BALTGA (Barangay Ampucao Local Tour Guides Association):
| Service | Fee (PHP) |
|---|---|
| Registration Fee (per person) | ₱100 |
| DENR Environmental Fee (per person) | ₱30 |
| Tour Guide – Day Hike | ₱800 |
| Tour Guide – Camping/Overnight | ₱1,600 |
| Porter – One-Way (Day Hike) | ₱800 |
| Porter – Two-Way (Overnight) | ₱1,200 |
These are the current rates as of 2026, replacing the old rates of ₱600 (day hike guide) and ₱1,000 (camping guide). BALTGA is now officially registered with both the Securities and Exchange Commission (SEC) and the Bureau of Internal Revenue (BIR), which means guides are operating under formal professional standards.
If you are organizing a group larger than 15 people, coordinate beforehand by emailing ampucaoblgu.itogon@gmail.com to ensure enough guides are available. The barangay contact number is (074) 637-2189.
My insider tip: Registration opens at 4:00 AM on weekends and 5:00 AM on weekdays. On weekend peak season, be at the gym before opening time. The line for guide assignment can eat 30–45 minutes off your early start.
DENR official website for any updates on environmental fee policies affecting protected areas in Benguet.
What Is the Mt. Ulap Trail Like?
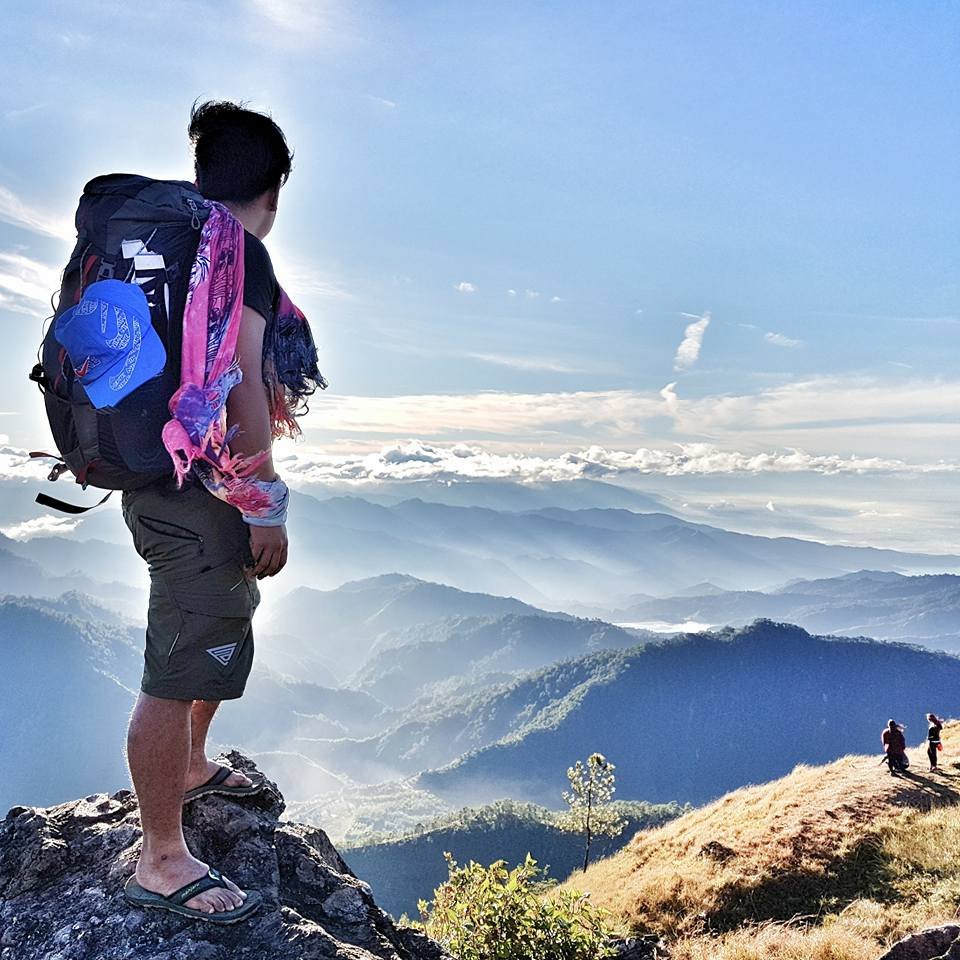
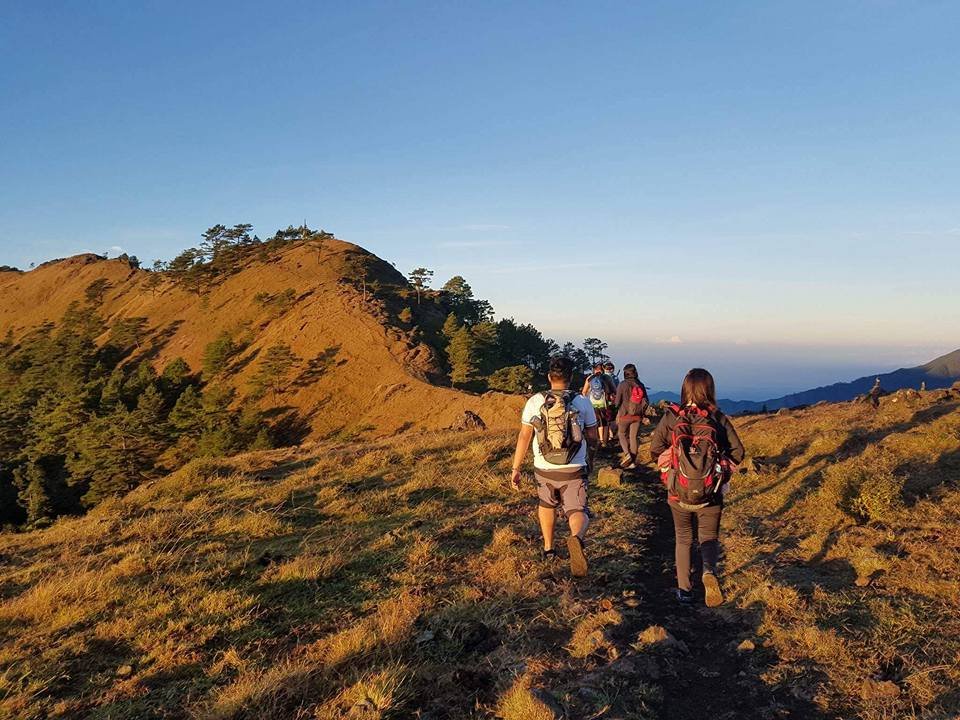
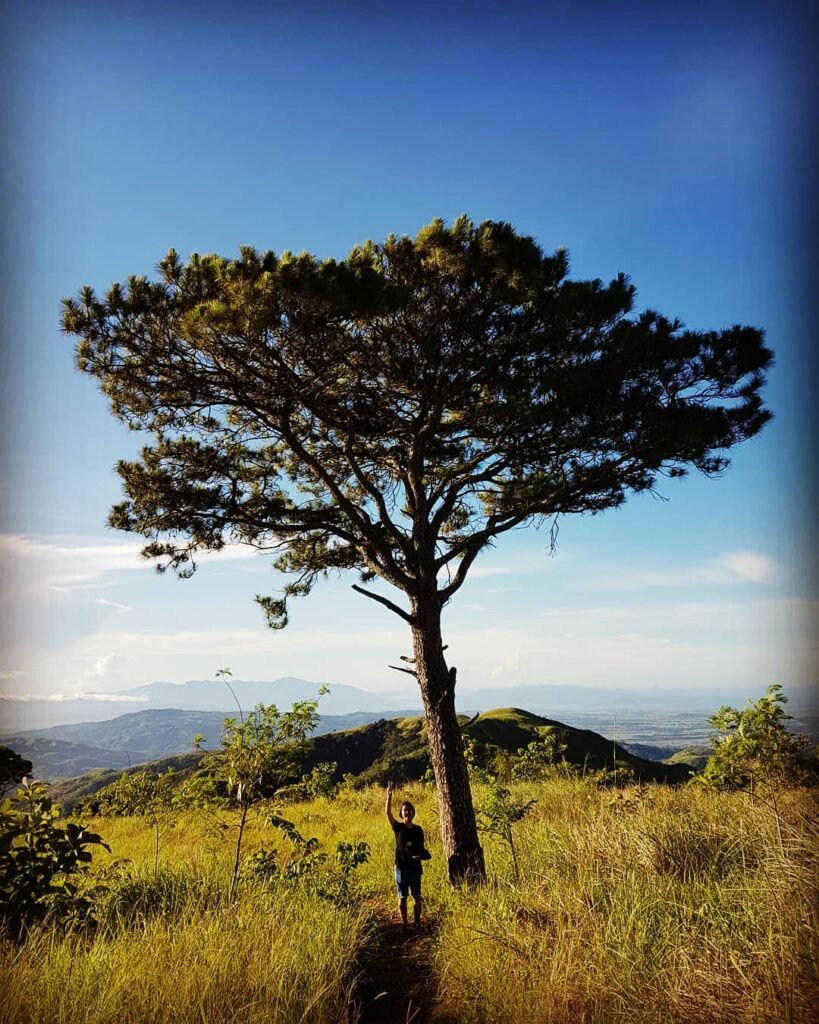
The Mt. Ulap Eco-Trail is a 9.21 km hiking path along the Ampucao–Sta. Fe ridge in Itogon, Benguet. It has three well-known peaks along the ridges: first is Ambanao Paoay at 1,788 MASL, second is the famous Gungal Rock formation at 1,814 MASL, and third is the summit at 1,846 MASL.
Stage-by-Stage Trail Breakdown with Difficulty Scores
Stage 1 — Barangay Hall to Ambanao Paoay (0 to ~3.6 km)
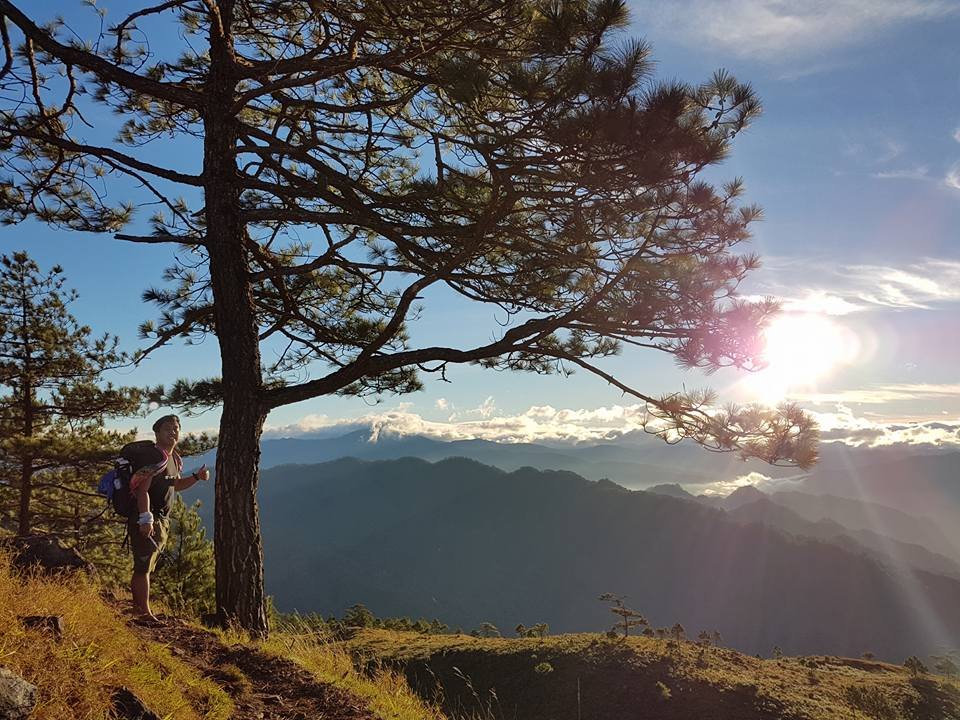
 Difficulty: 3/5 — Continuous uphill through Benguet pine forest; legs burn more than they should on what looks like a gentle slope. This is the stage that separates people who prepped from those who didn’t. The pine canopy keeps it cool, but the path is relentless.
Stage 2 — Ambanao Paoay to Gungal Rock (~3.6 km to ~5 km)
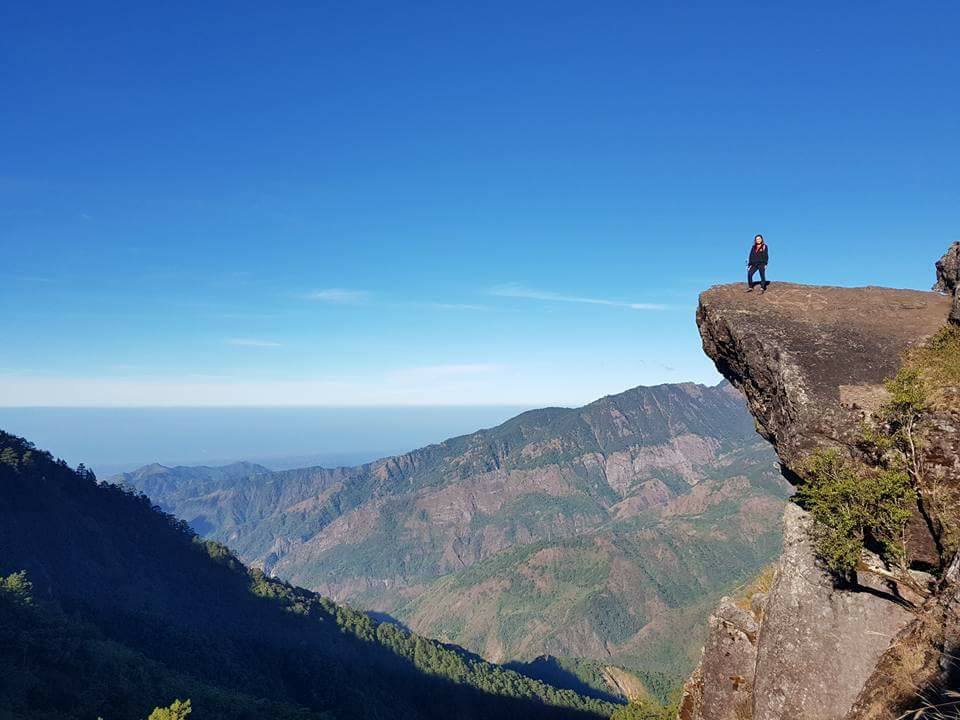
Difficulty: 2/5 — The ridge opens up here. The trail levels before a short scramble to the famous rock platform. This is the most photographed point on the Mt. Ulap Trail. On weekends, expect a queue of 20–40 people waiting for their shot at the edge. On the June 2026 climb, I waited about 15 minutes. The rock juts out into open sky over a drop that earns your full respect. No railing, no safety net — just rock and air.
Stage 3 — Gungal Rock to Summit (~5 km to ~6 km)
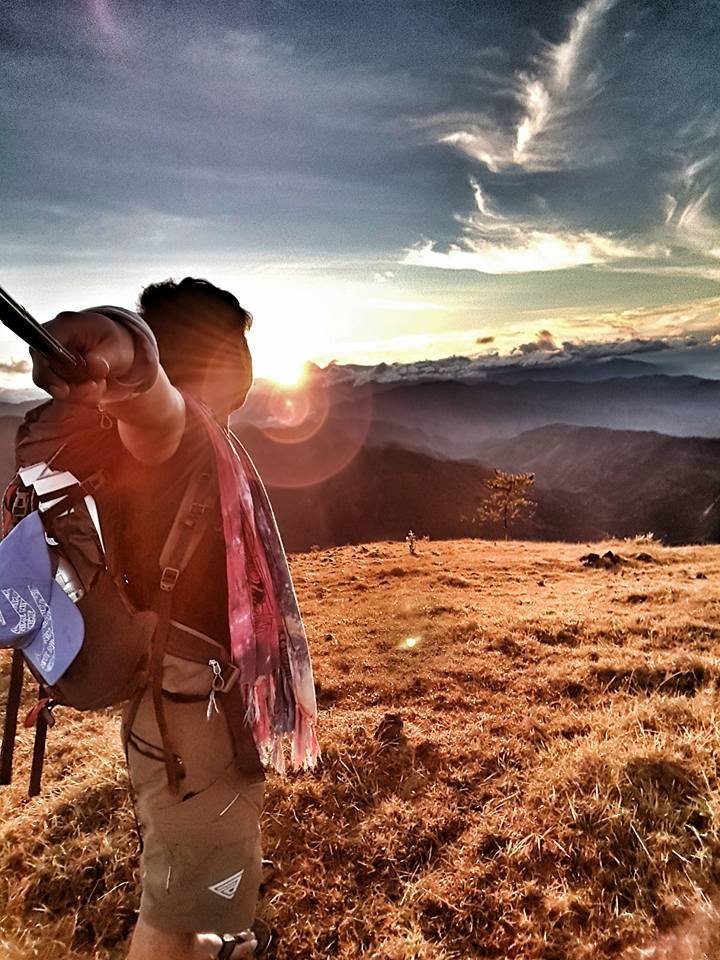
Difficulty: 2/5 — Gradual grassland ascent to the concrete marker at the 1,846 MASL summit. Rolling terrain, wide open views, and far less congestion than Gungal. The Mt. Ulap sea of clouds, when it appears, tends to pool in the valleys below this section in the early morning.
Stage 4 — Summit Descent to Pong-Ol Burial Caves (~6 km to ~7.5 km)
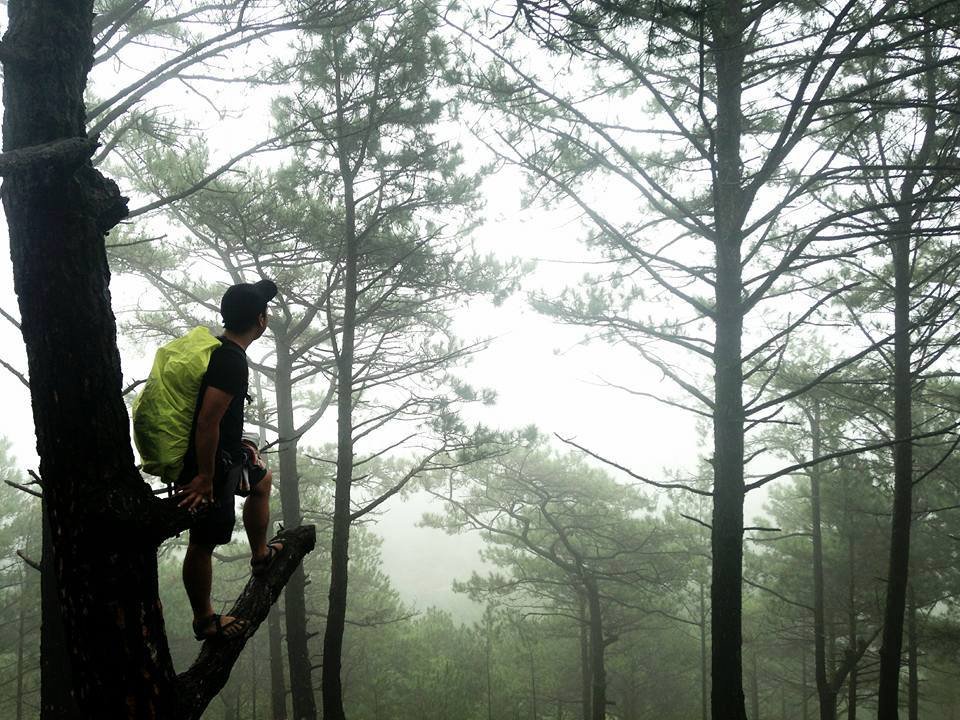
 Difficulty: 4/5 — This is the part that gets people. The descent from Mt. Ulap to the Pong-Ol Burial Caves is steep, pine-forested terrain, with improvised wooden steps on the muddier sections. Trekking poles are not a luxury here — they protect your knees. The trail can be slippery even in dry season. Wet season makes it genuinely dangerous.
Stage 5 — Burial Caves to Sta. Fe (~7.5 km to ~9.4 km)
Difficulty: 2/5 — Eases off considerably. The final stretch is marked by hanging bridges and a small river, which signals the end. Hanging bridges in single-file, a cemented path, and then the Sta. Fe exit point with a small store.
The Pong-Ol Burial Caves: More Than a Photo Stop
Most guides give this a sentence. It deserves more.
Midway through the descent to Sta. Fe, you pass the Pong-Ol Burial Caves — rock shelters holding the wooden coffins and skeletal remains of the Ibaloi ancestors. The Ibaloi are one of the distinct ethnolinguistic groups of the mountainous Cordillera Benguet region. Their mummification practices date back as early as 200 BC and involved drying and dehydrating human remains using heat and smoke.
There are three burial cave sites on the trail. The identity and estimated age of those buried in the caves are still unknown, but locals believe the mountain holds more burial sites yet to be fully explored. Barangay protocol prohibits hikers from photographing the burial caves and sacred artifacts. Follow that rule without debate. These are not ruins — they are active spiritual sites for living Ibaloi communities.
The fifth station, Pong-Ol Burial Cave, is now closed to the public for direct entry, though you pass it on the descent path. Your guide will explain the cultural significance if you ask respectfully.
Trail Conditions: Wet vs. Dry Season
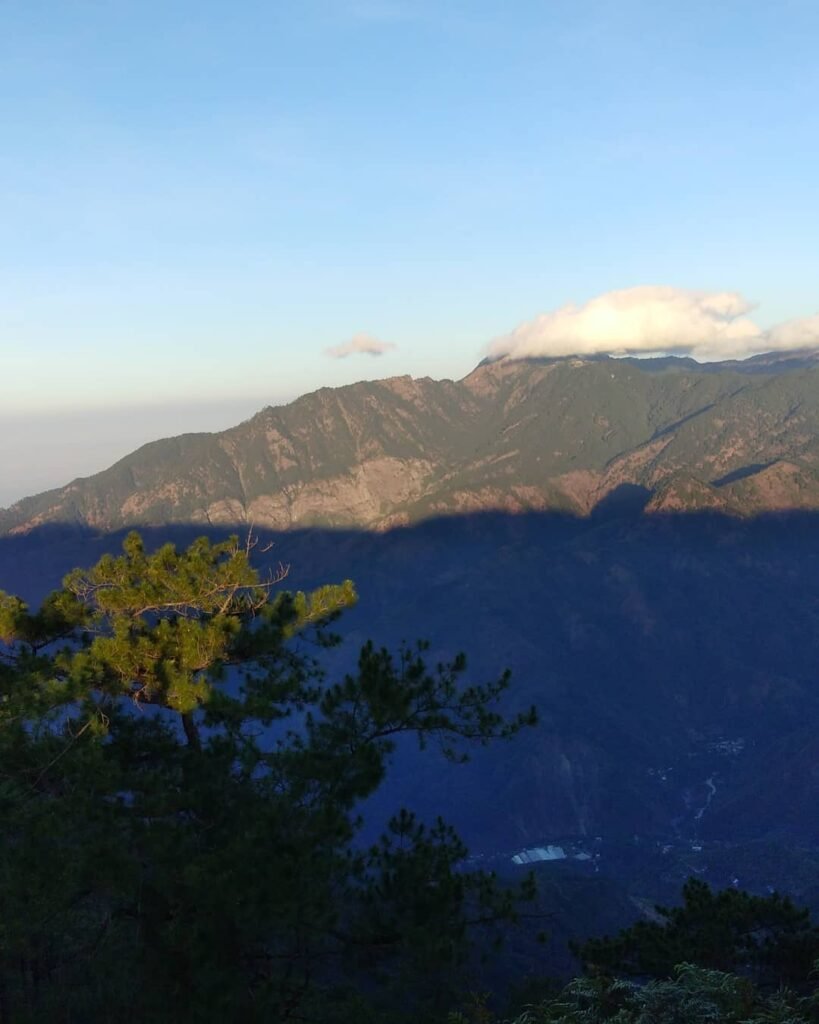
The dry season (November to April) gives you firm footing, clear views, and the best chance at an Mt. Ulap sea of clouds in the early morning. The grassland ridges are golden-brown and the visibility over the Cordilleras can extend for kilometers.
Hiking in late July (wet season) is possible but the mountain gets very cloudy during monsoon, and the views from Gungal Rock can be completely foggy or misty. I climbed in June 2026, which is the start of the wet season. The trail is manageable if you start early, but the descent stage after the summit is genuinely slippery. Mud accumulates on the wooden steps. Waterproof footwear and trekking poles shift from optional to necessary.
Expect rain during monsoon season (June–February). There are no official closure protocols specifically for Mt. Ulap outside of active typhoon warnings. Check the PAGASA weather advisory before your hike anytime from June to October.


Pingback: The Ultimate Guide To The Top 10 Mountains In The Philippine – BizBackLinks
A highly recommend hike!!